5 Photography Documentaries to watch now
I’m always intrigued to know how photographers tick. What kit do they use? How did they get the shot? What made them want to photograph in the first place? There have been some brilliant photography documentaries made over recent years. I’ve been thinking about my favourites and here they are:
Which Way is the Front Line from Here? The Life and Time of Tim Hetherington
April 2011, Misrata, Libya. A group of photographers are sitting in a car with their driver. The Bee Gees' ‘How deep is your love’ plays on the radio. Outside of the car is a war zone. A voice is heard asking ‘Which way is the front line from here’. That day, photojournalist Tim Hetherington, along with Chris Hondros, a Getty Images photographer were fatally wounded. This film is a wonderful tribute to the photographic career of Hetherington made by his personal friend Sebastian Junger. It also includes an in-depth look at his photography career and includes tributes and memories from his loved ones.
Available on UK iTunes
Bill Cunningham New York
‘The best fashion show is definitely on the street, always has been, always will be.’ The words of Bill Cunningham, photographer for the New York Times. He worked for the newspaper for almost 40 years before his death in June 2016 and was best known for his candid shots of fashion on the New York City Streets. This profile of Cunningham provides an interesting insight into his life and work both through his own eyes and those of the fashion world.
Available on UK iTunes
Don’t Blink, Robert Frank
Named by the New York Times as the most influencial living photographer, Robert Frank is a pillar of American photojournalism. He produced the iconic book ‘The Americans’, a highly influential study in post-war American photography. Filmmaker Laura Israel worked as Robert’s editor for many years but she was reluctant to approach him about the idea of a film at first as he had turned down other directors. She did ask him though and Robert agreed to being the subject of the film. The result is a great insight into his work, family, friends and day-to-day life.
Available on DVD at Amazon.co.uk
Finding Vivian Maier
A mystery box, loaded with film negatives is bought at auction for $380. The photographer: an unknown by the name of Vivian Maier. Maier worked as a nanny. What nobody realised when she was alive was that she had taken and kept hundreds of thousands of street photography images during her lifetime. Telling the fascinating story of how the images were discovered, this film also talks to those who knew her as a very private woman. She is now considered one of the 20th century’s greatest photographers.
Available in the UK from iTunes
The President’s Photographer
Missing the Obama days? I recently discovered this documentary. It's available to watch on YouTube (divided into four parts). It follows Barack Obama’s official Photographer during his White House years, Pete Souza. The film gives a fascinating insight into Souza’s role, capturing key moments in history mixed with behind the scenes shots of Obama with his family. Souza had his own office in the White House, a room previously used as the official barber shop of past presidents! The film is a glimpse behind the scenes of a photographer who has created key images in history.
Available on YouTube
Any I haven’t mentioned? I'd love to hear your recommendations in the comments below.
My career change: How I switched radio for photography
It's 1996. I'm skimming through University brochures in our careers room at school. What do I want to do when I grow up? I don't have a clue.
I always just assumed you get a job and that's it. Yes, you switch jobs for more money or when you get bored, but your career more or less stays the same, right?
Aged 25 and I was five years into a graduate job as a Radio Journalist. Yes, I loved my job but something was missing. I REALLY wanted to do something else more. That something else was photography.
So how do you suddenly switch from one career to another? For me it was a case of being brave and just going for it. Would it work out? I had no idea. Was it madness to leave behind a great job in radio? Maybe.
My career change plans had a slight stumbling block. I had no photography experience (apart from one evening class course). But I put my application together and applied for an MA in Photojournalism (the journalism experience sealed the deal and I was accepted on the course).
There's no doubt about it, I was WAY out of my photography depth when I started the course in 2005. It was really tough; I won't lie. My classmates had incredible portfolios while my own was a collection of snapshots.
But I loved the degree, made great friends, and learned so much. Ater graduating it opened doors for me in Photography and Picture Editing at The Press Association, Daily Telegraph and FOX TV channel.
Going back to uni isn't an option for everyone financially or practically but doing short courses (either online or an intense in person class) is worth looking into.
Building a website is another great way to get your work on show. It doesn't need to cost the earth and websites like Squarespace give you a chance to build your own for free and try before you buy. That's where I started and I pay about $100 a year for my site.
Setting up an Instagram account and learning about hashtags will get your work seen by others in the field.
If, like me, photography is the direction you want to head in, get reading. Join your local library and read tons about other photographers. We were encouraged to do this on our MA course and I've done a lot of reading recently, rediscovering some of the masters of photography and discovering new photographers.
Figure out who your favourite photographers are and learn from their work.
Magnum photos is another great resource, so settle down with a coffee and take inspiration from some of the best.
Want to read more? Here's how I'm trying
Ever get the feeling you're spending too much time online? It dawned on me recently that I needed a little 'tech break.' Sat in bed, with an actual book for a change, I attempt to scroll down the page with my finger. Yes scroll, down the page of the book like it's my iPhone. Not cool. Something has to change.
I want to read more in 2017. It's been a New Year Resolution. The problem is, when do I find the time? It's not easy when we lead busy lives. So I have decided I need to stop complaining and just go for it; make time to make it happen. Here's how I'm attempting to bring more reading back into my life:
• The library. A bit obvious maybe but I only joined my library a few months ago. My first challenge has been to read more about photographers I admire. One great tip I discovered if you live in London like me, is that you can reserve books from any London borough online. I've already borrowed and read at least a dozen beautiful, expensive, hardback photography books. Each reservation is just 60p and you get the book sent to your local library for collection.
• Schedule time. So when do I find time to read these lovely books? I've actually found a great local cafe and I escape for an hour at the weekend, taking a photography book with me. I know I'll have peace and quiet away from home to soak up the material.
A model backstage at London Fashion Week squeezes in some reading time before a catwalk show. Pic: Katie Collins/PA images
• No wifi. We went on a cruise recently and I decided not to buy an internet package. And it was great. I really didn't miss being online. It felt like I could clear my head. I also got so much more reading done. Any train or tube journeys are also a great opportunity to catch up with reading without the distraction of online.
• Keep notes & ask for recommendations. I've started writing down all the books I read in a year. Bizarrely when my family got together last Christmas, I discovered my brother had done exactly the same thing. We'd also both given our books a rating. I love looking back to see how much I have read in the past 12 months and getting ideas for new books to try. My family have also started a Secret Santa with books; a great way to share a favourite book with others and get a discussion going.
I also recently came across this great article on how to read more. It really struck a chord with me and got me thinking about how I can improve my reading volume even more. It's a great article and I hope you enjoy it:
https://hbr.org/2017/02/8-ways-to-read-a-lot-more-books-this-year
Journaling (for those who don't journal)
I start my day with a glass of warm water, a slice of lemon and yoga stretches whilst leisurely reading the paper...
No, not really. Are you kidding? I have a 3 year old and a one year old so I am probably on my second caffeine hit of the day and will have stubbed my toe on Duplo by 8am.
I am however very impressed by those who manage to squeeze in some 'me time' before the kids wake up. 5am starts are not for me right now; maybe one day.
One thing I do always do is sit down with a decent breakfast of toast, eggs, cheese and a cup of tea each morning - something I have to do to regulate my blood sugar, being a Type 1 diabetic. It's actually my favourite meal of the day (and I was always guilty of shovelling down a croissant on my morning commute a few years ago).
I've also started journaling in the morning. It sounds very hippy, I know, but all the research and articles I have been reading point to it being a great way to start the day. The truth is that for a long time I didn't really know where to start and felt a bit silly doing it.
I then came across an article on My Morning Routine which mentioned The Five Minute Journal. 5 minutes later the book was ordered and it arrived a few days later.
So what's good about it? It's a template journal so you fill in the blanks.
I find it gets me focused and I start the day with a positive mindset. I jot down what I'm grateful for and what I want to achieve that day. I revisit the journal later before lights out and write down what made today great and what could have made it better.
I don't manage it everyday but when I do fill it out, I feel better for it - less anxious, happier and more grateful. So if like me journaling is something you'd like to try, this might be worth a go.
5 tips for great family photos (with a self timer)
As our baby turns 6 months, I've realised we don't have a single photo of the four of us.
Getting some professional pictures taken is definitely on my to-do list but we've just not got round to it. Life has been busy.
Last weekend I was determind to get a picture - the four of us, our little family, my camera and a self timer. Easy right?
It took patience, a lot of patience with a toddler running into the garden after every shot and being dragged back to the sofa for 'just one more!' We got there in the end though.
Here are some of my tips for getting that family shot:
1. Choose your weapon - you may have an SLR or compact camera and a tripod. You may be looking to balance an iPhone on a pile of books. Choose what works for you and work out how to use the self timer function.
2. The set-up - my advice (particularly if you have young children) is to decide on your location in advance (ideally close to a window with some natural daylight). Clear away clutter and any distractions. Use an adult to pose for a trial shot and see how it looks. If you have everything set up in advance, you just literally need to bring the children in and get going.
3. Patience- we bribed our toddler with a biscuit and entertained her with songs. She was not playing ball but we just kept persevering with the self timer, taking numerous shots.
4. Eyes to camera? Do you want everyone looking at the camera? We tried shots some looking at the camera and some away. The image I chose was less posed and more natural. This is the style we prefer but the beauty of the self timer is that you are in charge and you can try lots of different options.
5. Editing - my editing for clients is done on my desktop computer with Photoshop software. Increasingly for day to day family pictures of our life at home I upload my pictures straight to my iPad using an Apple card reader. I then use the VSCO or Snapseed apps to crop, tweak colours and contrast or change to black and white.
Before & After
Before
After
As you can see I chose to be close to a window with plenty of light. I had originally tried to include a painting we have in our kitchen but in the end decided the painting was a little too distracting and cropping in closer would work better. I also decided without the painting, I preferred the picture in black and white form.
Using the self timer is definitely something to try out. It takes a little planning but great to have a family photo ready for framing on your mantelpiece.
A photo a day
When I got my phone upgraded to an iPhone 6 at the end of last year, I made two decisions. Firstly, I would learn more about iPhone photography. Secondly, I would use the iPhone camera daily.
The iPhone is definitely no replacement for my DSLR. Let's face it, my Canon camera is big, very expensive and when going from A to B with children, pushchairs and a change bag stuffed with nappies, it isn't always coming with us.
With a camera so easily accessible in your back pocket, taking pictures everyday has never been easier.
I've put together some tips on photographing family in and around your home:
1. Catching the light. Get close to a window with daylight. Turn off any lights in the room. Remove clutter that might show up in the picture. You may need to move furniture a bit closer to the window. Try using a piece of white card or a reflector to reflect the light and brighten faces.
2 . Photographing your children? Have time and patience. Getting our 2 year old to sit still and smile at the camera? Not going to happen. I actually prefer pictures I have taken of her happily playing. My advice would be to clear some space near a window & choose some toys or an activity. Or let them happily play in garden, avoiding harsh direct sunlight. Let them play and have fun and photograph the results. Be patient and take lots of pictures.
3. Phone vs camera? Use what works for you. I use my iPhone 6 to take most of my pictures for Instagram. A few times a week I will plan things a bit more and take pictures with my Canon 5d Mark III DSLR camera. I have a fixed Canon 35mm lens that is great for capturing family moments.
4. Get in the picture yourself. This is something I'm trying to do more. I realised recently it's never me in the pictures with my children. I want that to change. Last week I dusted off my tripod, attached a Joby GripTight GorillaPod and hooked up my iPhone. I set up the shot while our toddler was asleep, clearing background clutter but intentionally including one if our favourite paintings in the frame. When our 2 year old woke up, I gave her a lolly and we had about ten attempts at the shot with a self timer until I found one I was happy with.
5. Take time to edit. When I do a baby or family shoot for a client, I'll spend the equivalent of 1-2 full days editing the images in Photoshop. When I take pictures for Instagram (usually on my iPhone) I'll always use the apps VSCO or Snapseed to lighten and brighten shots before publishing. It takes just a few minutes and looks much nicer than slapping on an Instagram filter.
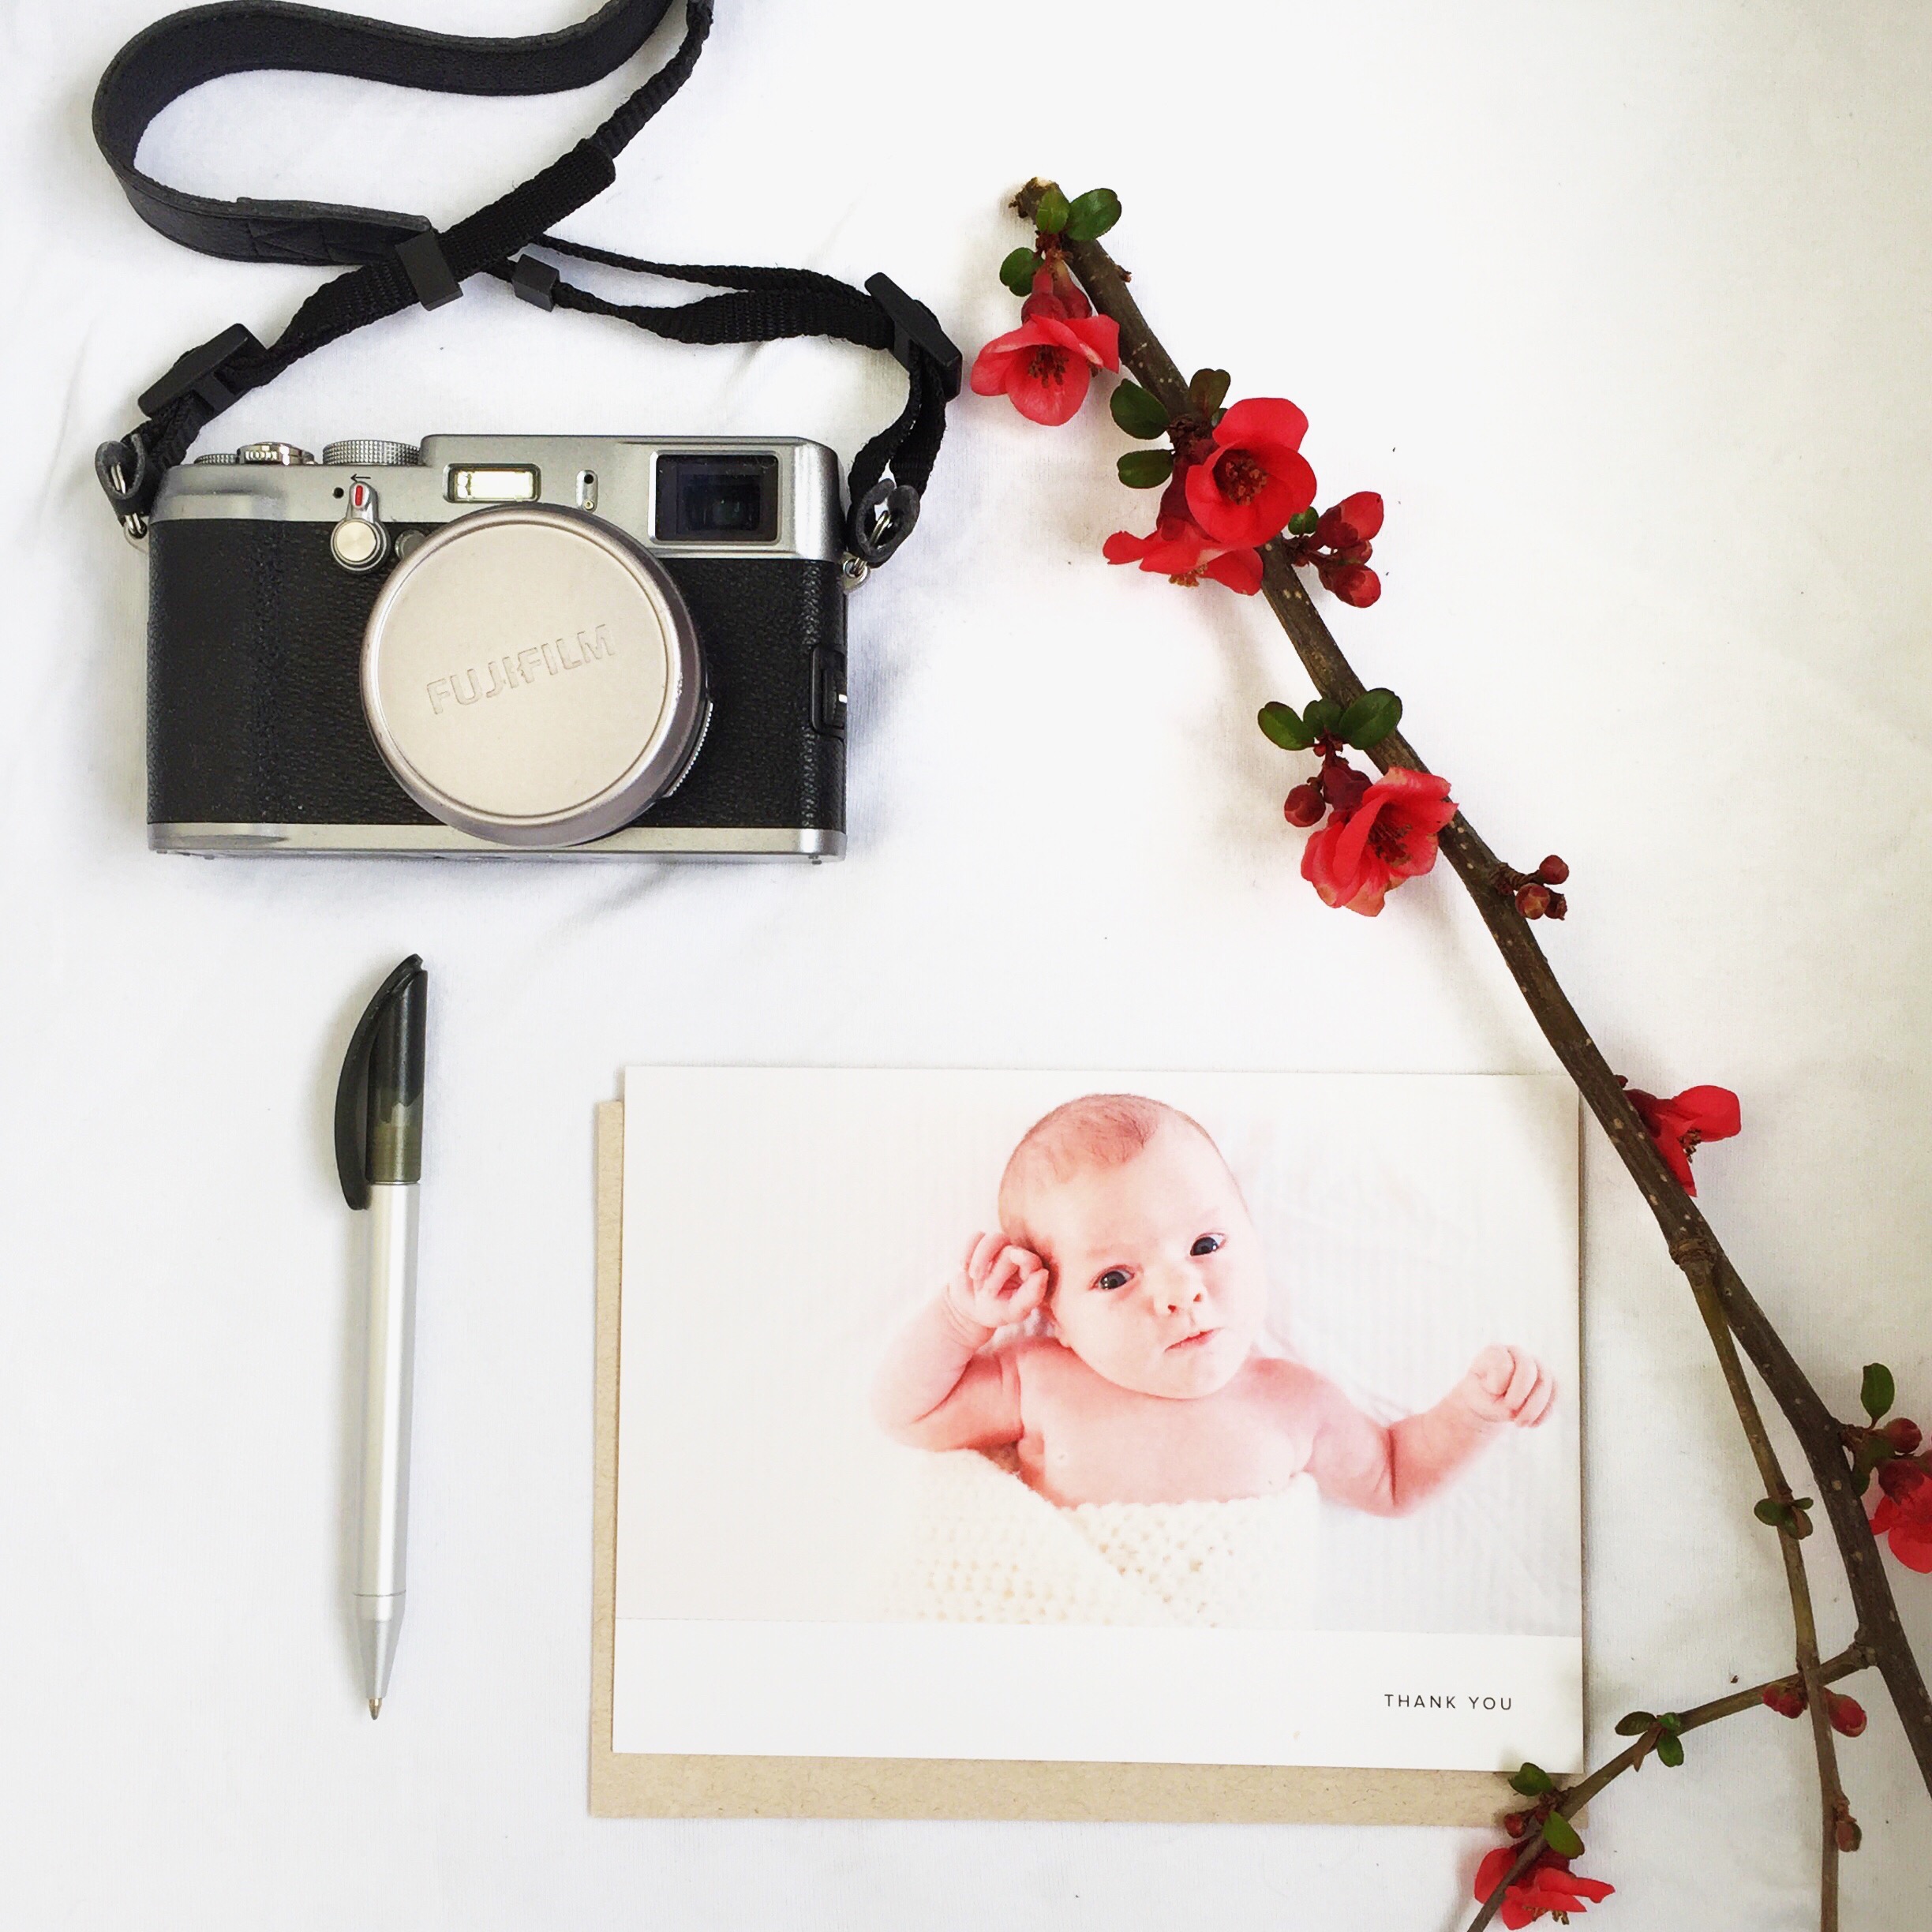
6. Printing and sharing. Artifact Uprising remains my favourite printing site. We chose them for our new baby thank you cards and their stylish square print sets. I'm a big fan of Apple coffee table books and they do great personalised photo calendars that don't cost the earth. I'm hooked on sharing pictures everyday through Instagram. It's also a fantastic way to get inspiration from people all over the world.
Baby one-to-one time
I had been feeling like a guilty mum.
When we had our eldest daughter (now aged two) there was a lot of baby/mummy one-to-one time. I joined my NCT friends in weekly baby sensory classes and we had frequent coffee dates while the babies rolled around amongst the brand new, brightly coloured Lamaze fireflies. Alice, like the rest of the population, had a brand new Sophie la giraffe - who looked fresh as a daisy and still had her squeak (alas, no longer).
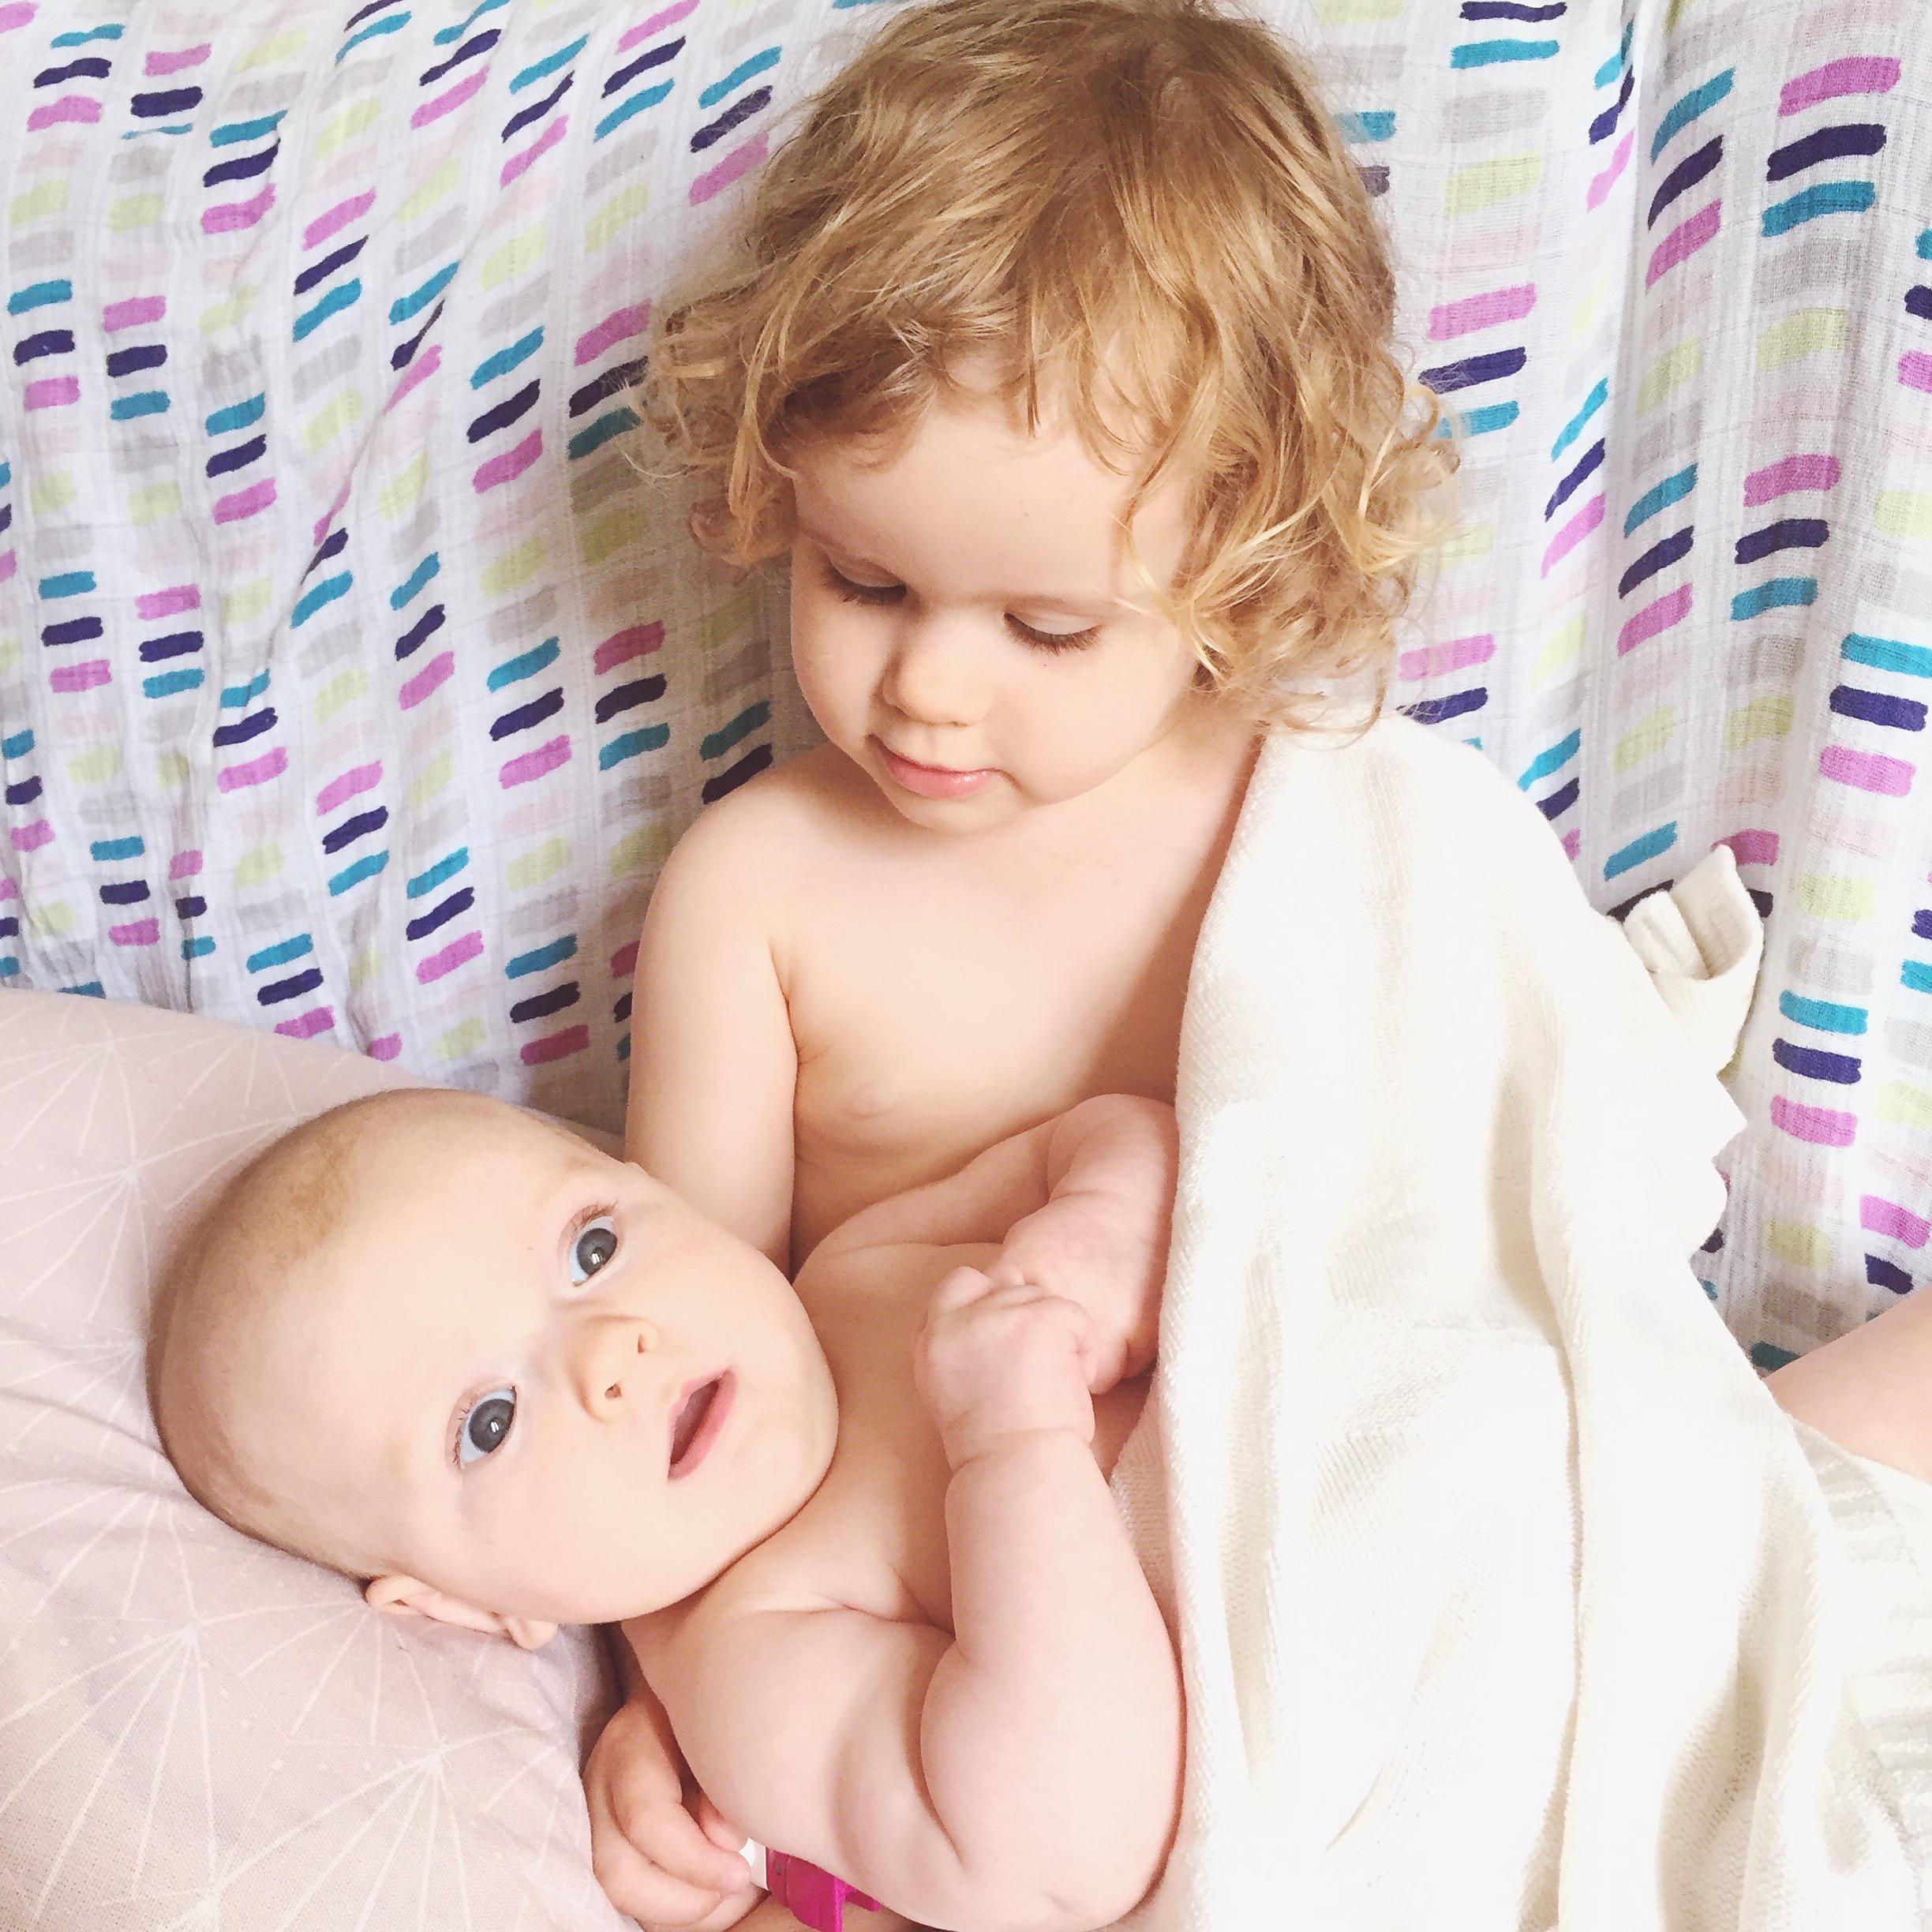
Our second daughter Lara (now aged four months) is very much coming along for the ride, fitting in with our 2 year old's schedule. Of course she doesn't care, she loves the sound of her sister's voice, beaming when she sees her each morning.
Let's face it, there's a lot less one-to-one time with baby number two (aside from feeding). I have the two of them together for most of the week, so new baby classes and endless coffee sessions are a no-go.
One of the things I enjoyed the most with Alice when she was small was baby massage. Along with a few NCT friends, I attended a baby massage course and Alice really responded to it. It was a great bonding experience. I was determined to find the time to do the same with Lara and, a few weeks ago, managed it.
I called on our baby massage teacher from 2 years ago. Jo from Home Spa London was able to come to our house and do an hour's refresher session. Her sessions are very relaxed and very much geared around baby's needs/mood. There's no rushing and plenty of time to stop/feed/change.
As I hoped, Lara has really taken to baby massage. We manage a little bit of mainly leg and tummy massage after nappy changes. The smiles and giggles say it all.
Jo from Home Spa London provides baby massage to addresses in London and Surrey- www.homespalondon.com
Taking the freelance road
Two years ago I had a great job as Picture and Video Editor for a UK TV channel.
As the end of my maternity leave loomed, I realised I had a big decision to make - do I return to work?
When we sat down and did our sums, it didn't make sense.
I'd be working full-time, we'd be paying London prices for childcare (I shudder) and at the end of the month, I'd be left with just pocket money.
I wanted the best of both worlds. I wanted time with our daughter but also a creative outlet and the chance to use my 10 years of photography and photo editing skills.
I took the plunge. My small newborn and baby photography side business would become my full-time job.
There was a lot that appealed, I would be my own boss, work the hours I wanted and have a good mix of work and family life. I could build up the business slowly and at my own pace.
In recent years many companies have put a greater focus on a healthy work/life balance and flexibility for their employees. This shift in attitude has seen the rise of freelancer communities such as The Hoxby Collective, making it easier than ever to work on your own terms.
I also made the decision that in between photo shoots, I would continue to work on improving my skills and striving to be better at what I do.
Gone are the days where heading out in the dark to sit in a classroom is the only option. There are loads of great courses online with passionate and enthusiastic teachers.
These are a few I have completed and really enjoyed over the past year:
Makelight
Emily Quinton runs Makelight, a company offering a selection of photography courses and workshops both online and at her London studio. She has a stunning Instagram feed - take a peek here. I didn't really understand Instagram at first, so looked to Emily and her Beautify Your Instagram course. She teaches you about composition, editing, hashtags and shares her tips for photographing with a smartphone. As a mum of four she also offers advice on how to run your creative business whilst balancing family life. I signed up to the course and each day, for a week, a new video landed in my inbox. All I needed to do was find a spare half hour to put the kettle on, listen and learn.
Visit www.makelight.com to find out more.
Family Photography: Modern Storytelling by Kirsten Lewis
Kirsten is a wonderful documentary photographer. In this course she shows how she produces special, unique, tender family moments. Her course is amazing and has had a huge impact on me. Kirsten also runs through her whole editing process and her photography style has opened my eyes and given me a fresh perspective on my own work. Kirsten's class consists of 37 lessons, available to buy and download at www.creativelive.com.
Can't Crop This Class from Studio DIY
I don't even remember how I found this class but I'm so pleased I did! Jeff and Kelly at Studio DIY run Can’t Crop This Class which is a series of downloadable videos. They teach you about building a profile on Instagram, branding, editing and composition. They make the class fun and their tips for using different editing apps on your phone has made a huge difference to my Instagram feed already.
Can’t Crop This Class is available at www.studiodiy.com
Find me on Instagram: katiecollinsphotography
And then there were two
Microwaving my first coffee of the day (yep, it's already gone cold), I hear tears. Our toddler has just tumbled head first over the footstool in our lounge. Cuddles and one Mini Milk later, she seems to be on the mend. Then our baby (four months old) starts to cry...
I'm loving my days with my two girls but my word, it's tiring! Breastfeeding alone is exhausting. Trying to feed whilst acting as a human climbing frame for our toddler (determind not to miss out on cuddles) is also a challenge.
But I know these days will whizz by. I know I just need to relax, have fun and accept the lack of sleep won't be forever.
So I've made some decisions and parked the idea of bed and a lie-in for a little while...
For starters I've started to take a picture every day and uploading it to my Instagram. There are clever apps such as Artifact Uprising which let you turn your feed into coffee table books. Great gift ideas.
I'm also going to pick up my brilliant Kikki K 'Things My Kids Say' journal and jot down those hilarious 2 year old mutterings before I forget them; and my gorgeous journal by The Green Gables for remembering our baby's milestones.
I'm going to factor in some 'me time' - have a massage, get my nails done, make a start on reading a good book. With a bottle of milk and an excellent daddy at hand, I'll plot my short escape.
Of course I'll drink a cup (or three) of good coffee to help me power through the day (preferably hot and not microwaved). I'll keep working on that one...
Weekly Reflections Journal (top left) from The Green Gables; Things My Kids Say by Kikki K; Inside Charlie's Chocolate Factory by Lucy Mangan from Amazon
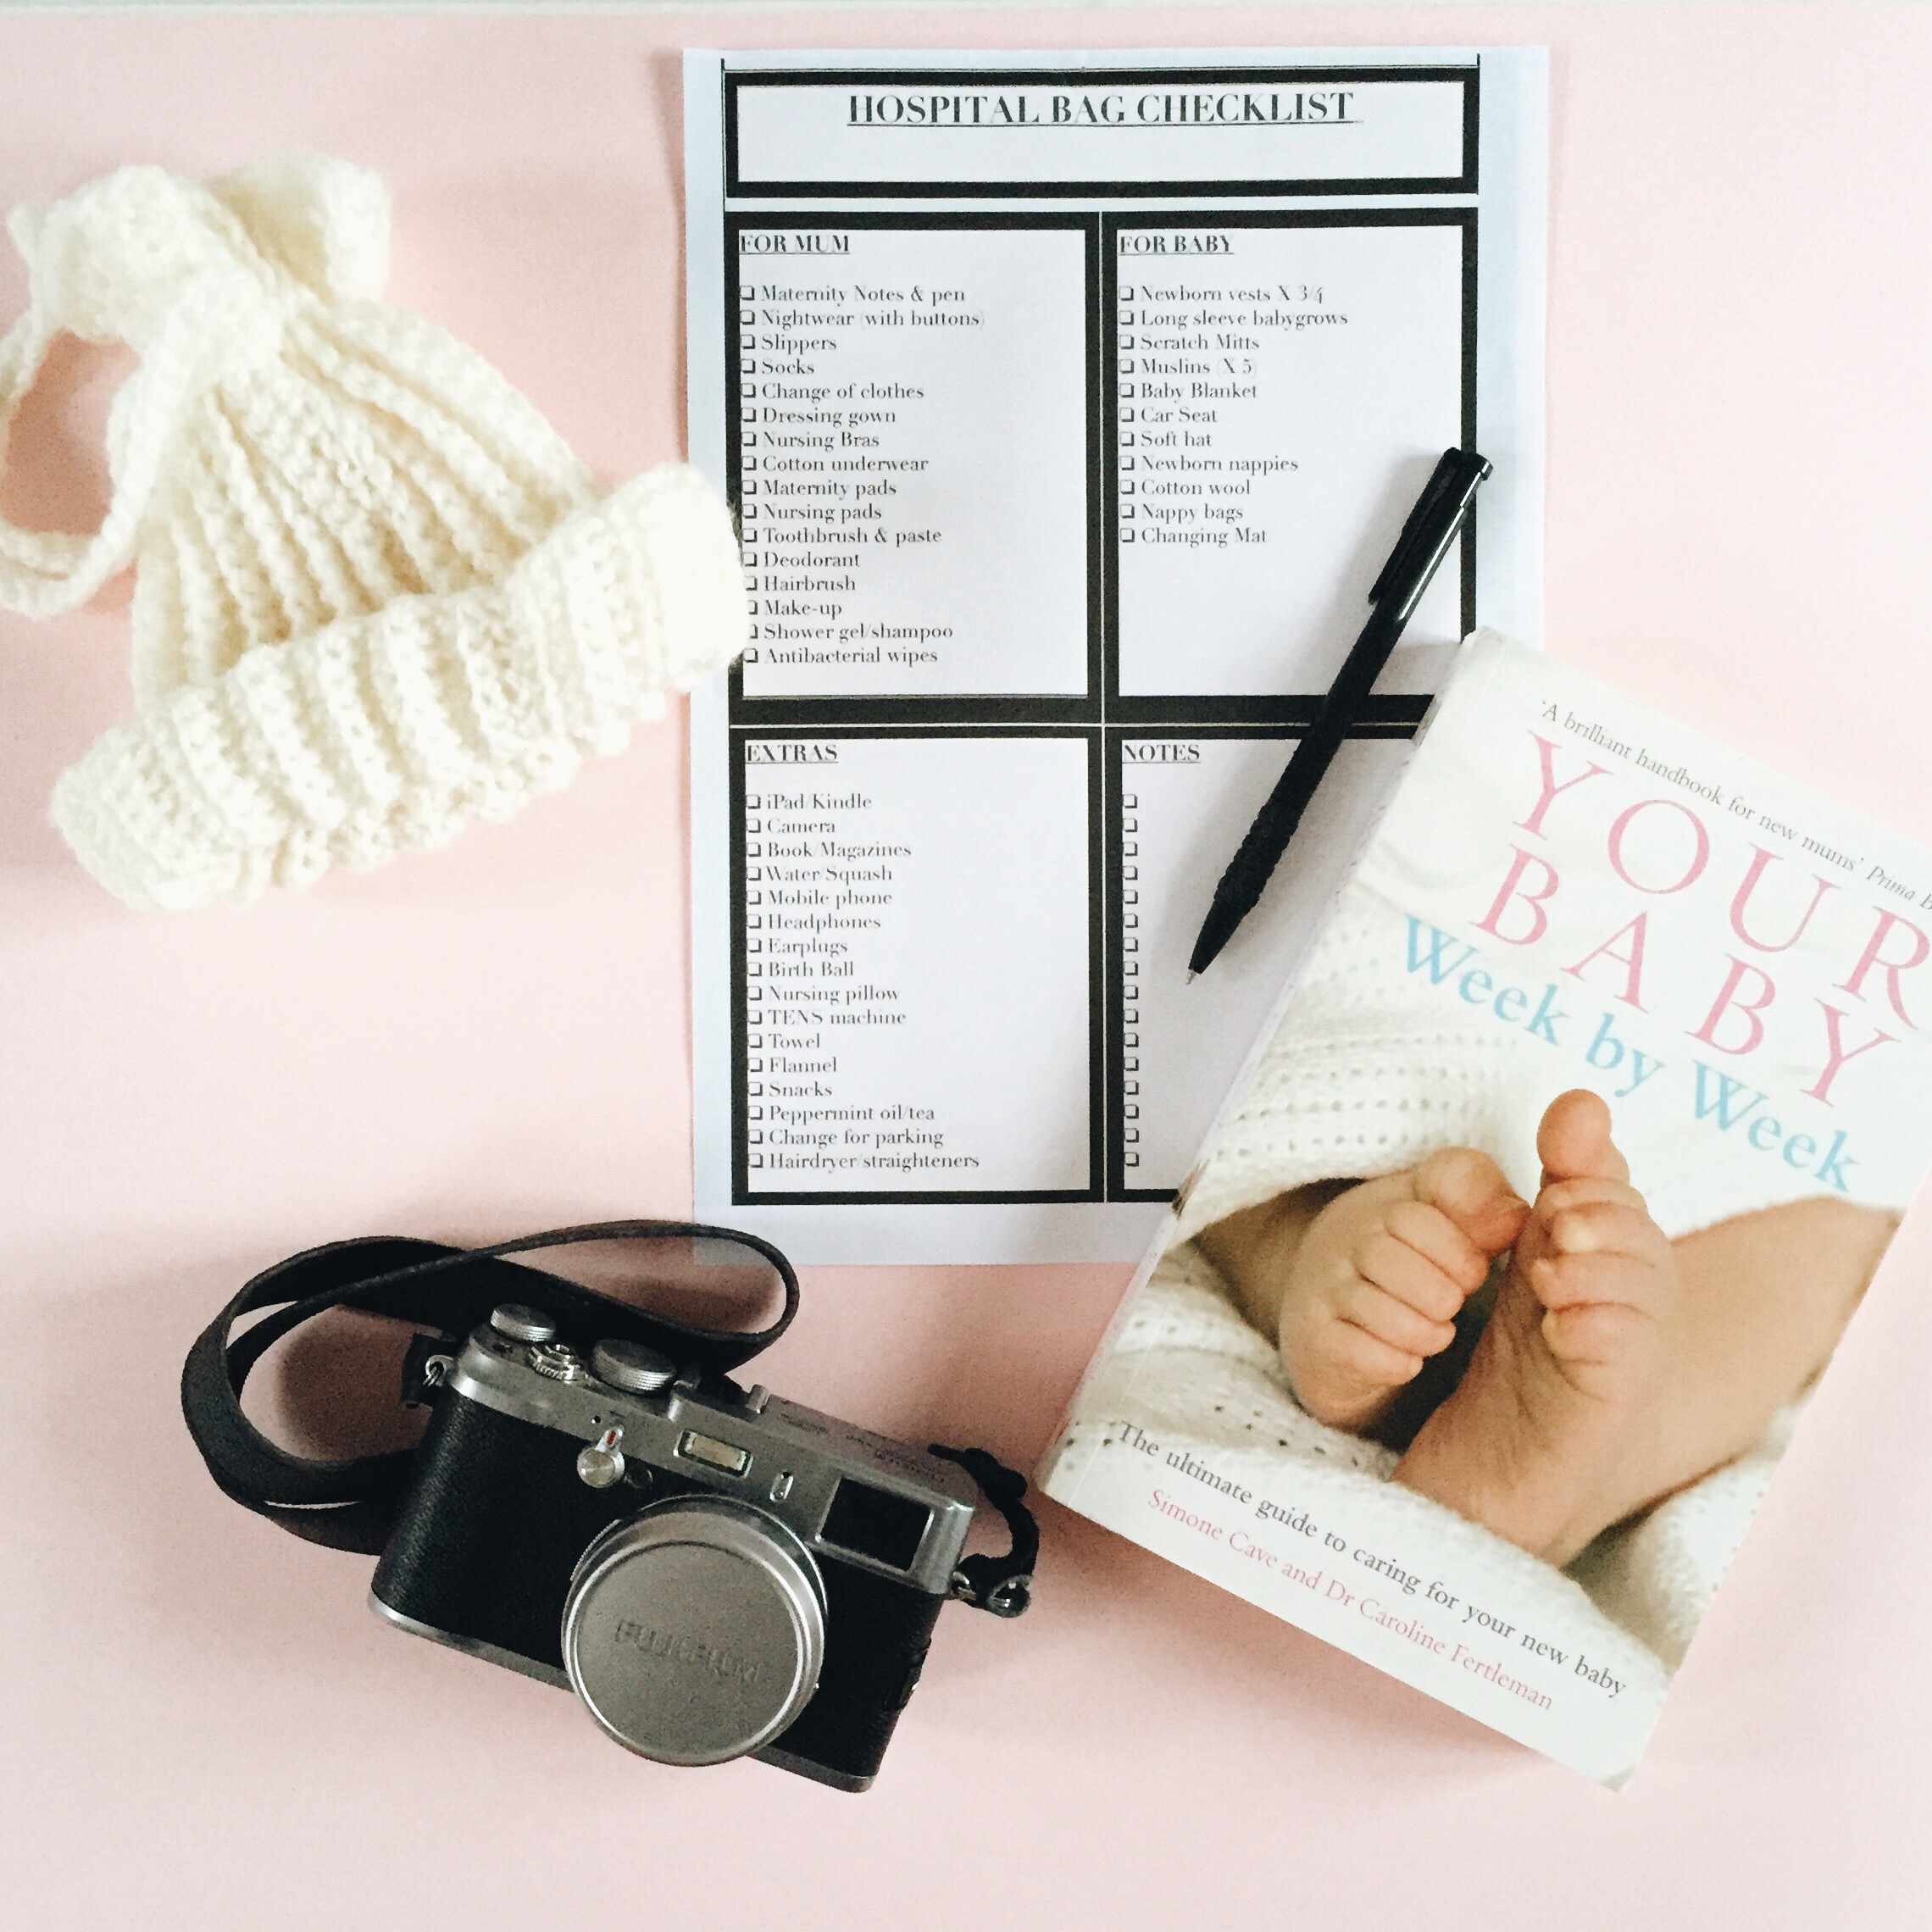
To download your free Hospital Bag checklist click HERE
Packing your hospital bag -FREE checklist
It's pretty surreal packing your hospital bag full of cute newborn babygrows, hats and nappies when baby hasn't made an appearance yet.
First time round (two years ago) I didn't really have a clue what to pack. I trawled baby books and baby websites looking for inspiration. I made endless lists and still ended up with more than one neatly packed bag. When arriving at the hospital, I looked like I was moving in.
This time I've put together my own list and made some changes - more newborn nappies (a handful won't cut it). My own snacks and drinks (hospital food is far from great).
Antibacterial wipes will definitely be in my bag (sharing showers and bathrooms - a 5* hotel this is not). My camera and iPhone will be a must for those very special early pictures and videos. I'll also loading up my iPad with TV series and movies (last time I was in for four nights and you had to pay to watch the tiny TV by my bed).
Peppermint Tea and oil is also on my list. The nurse suggested it last time after I had a c-section and it really helped.
Instagram: katiecollinsphotography
Twitter: K_J_Collins
Photo Box Project
Recently I have been dealing with an angry, frustrated toddler. Like a caffeine addicted commuter being denied their morning fix, she's not happy.
The thing is, I know what will solve the problem in the short term - Peppa Pig.
After a recent 5am start and Peppa Pig on loop again while I prized my eyes open, in search of that first precious morning cup of tea, I realised the pink snorting pig needed to become a less frequent guest in our home.
It was time to close Netflix and launch into a new distraction for our buzzing, energetic toddler - the Photo Box Project.
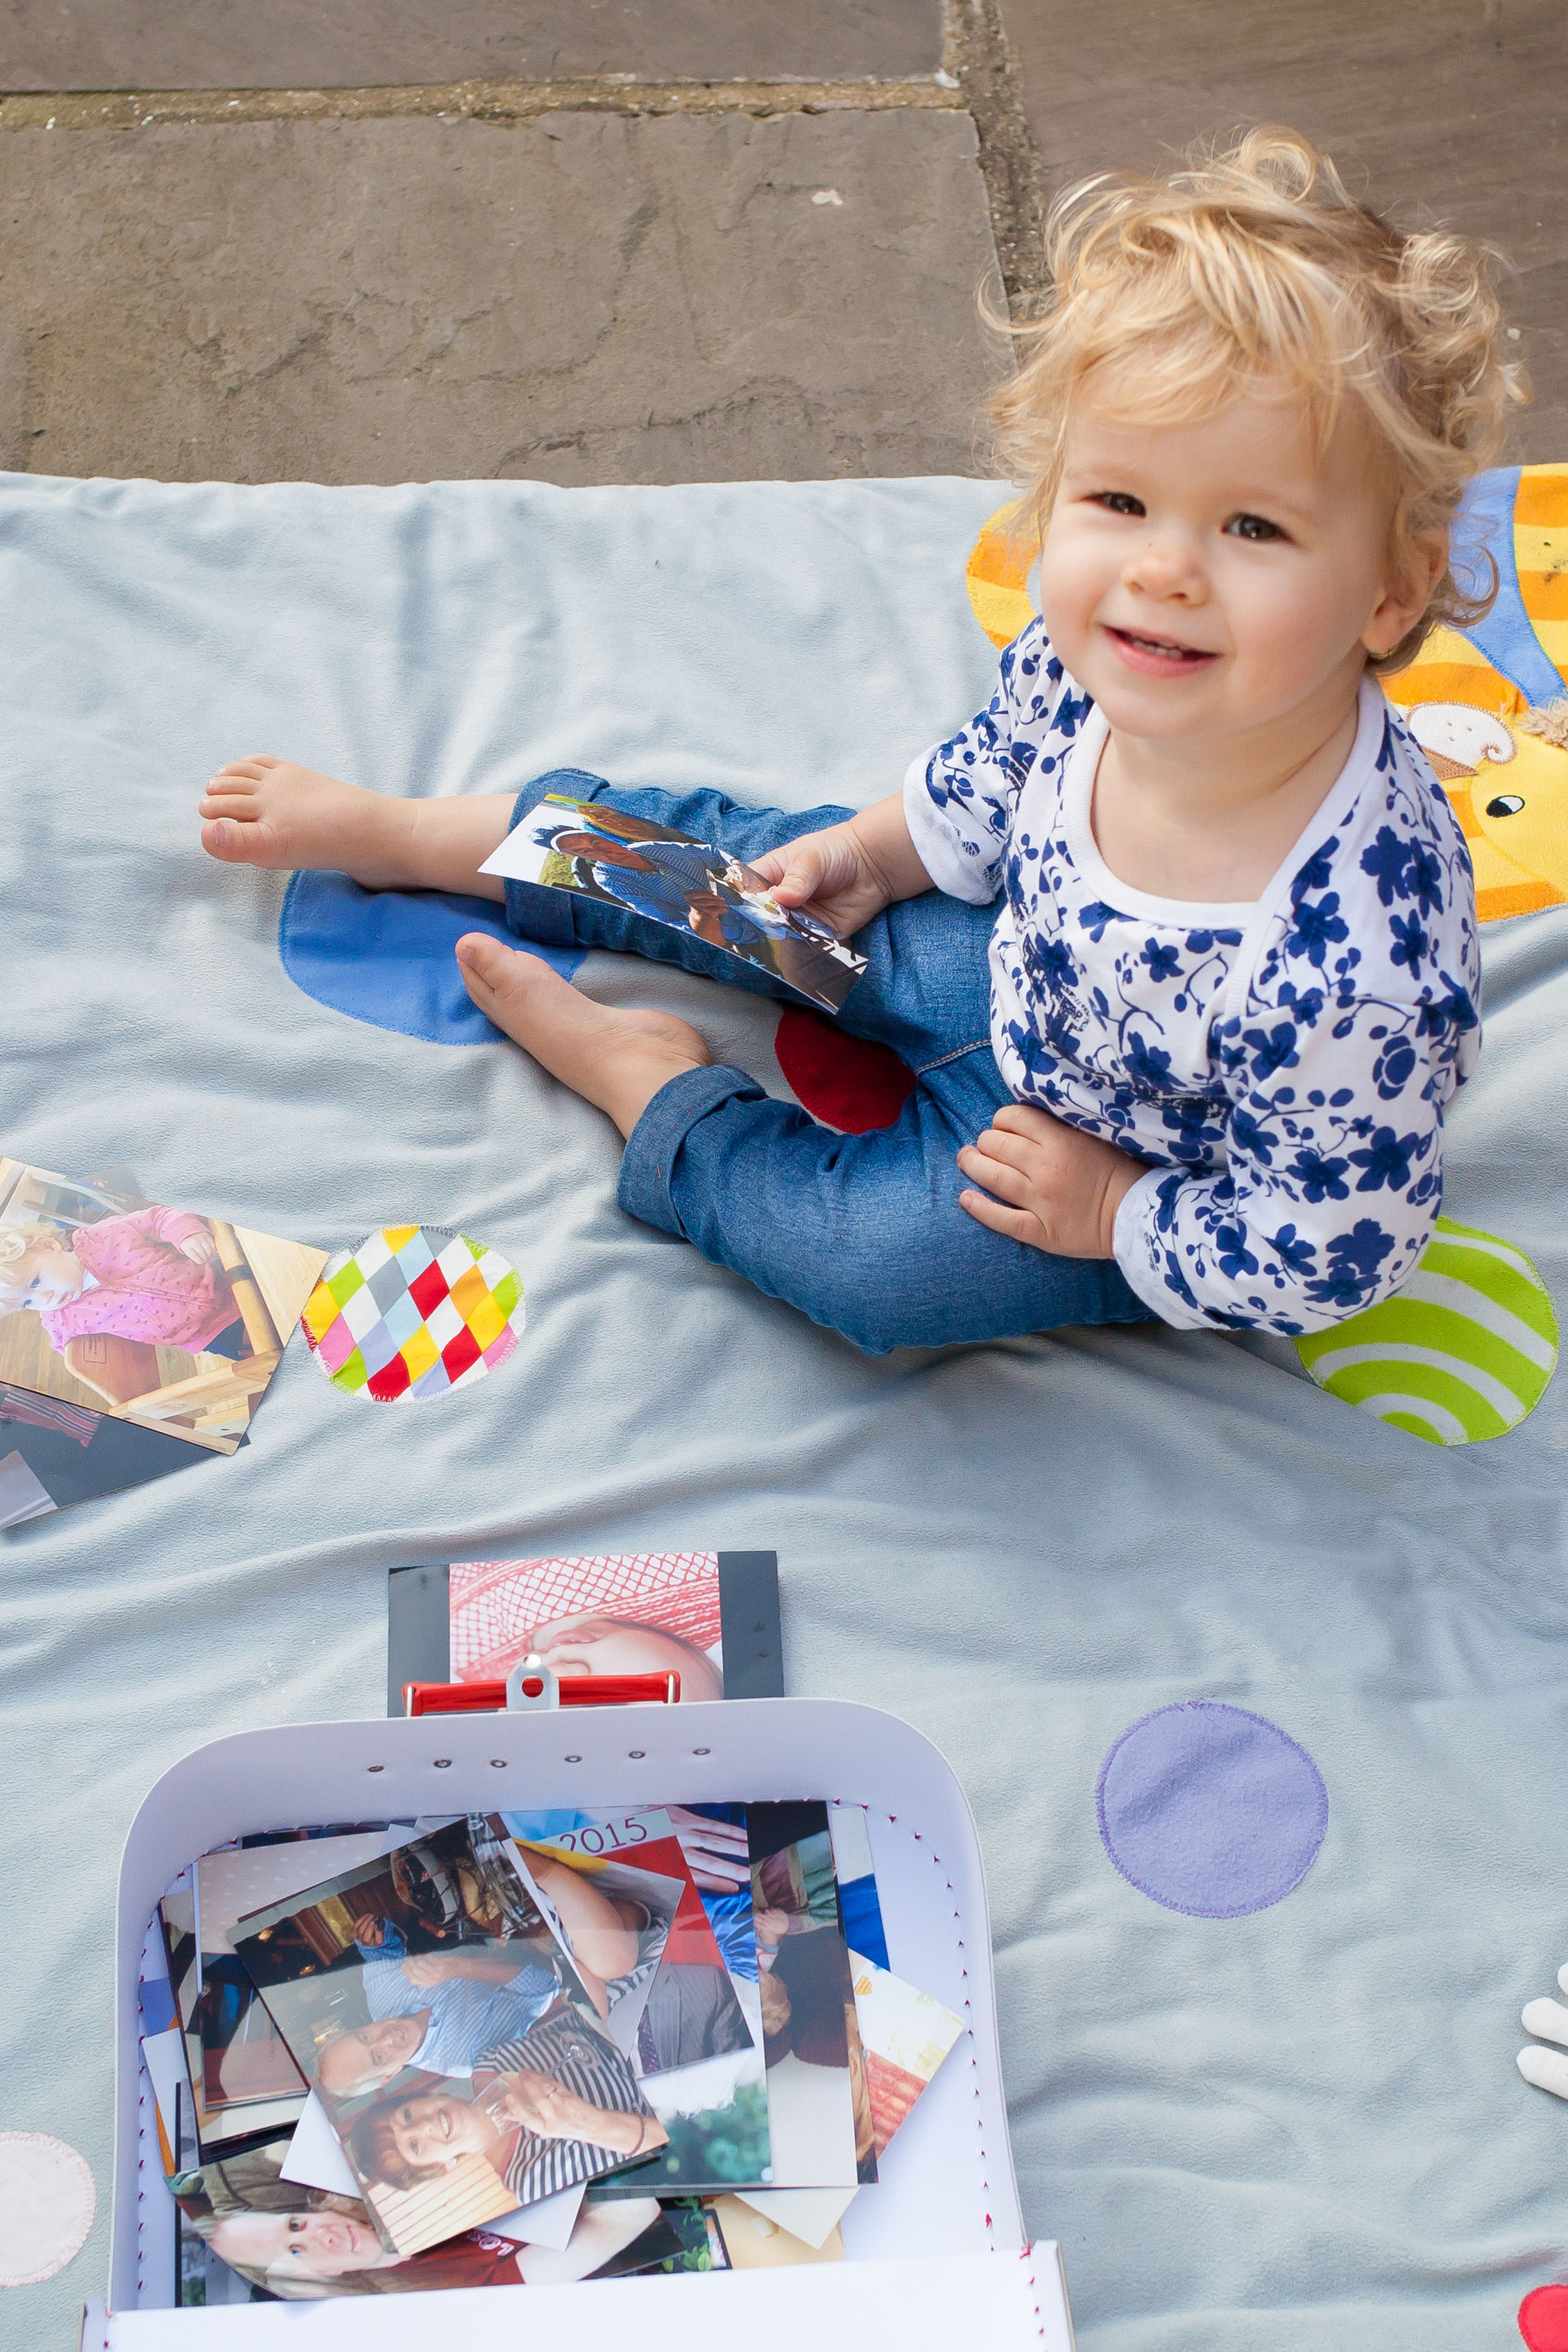
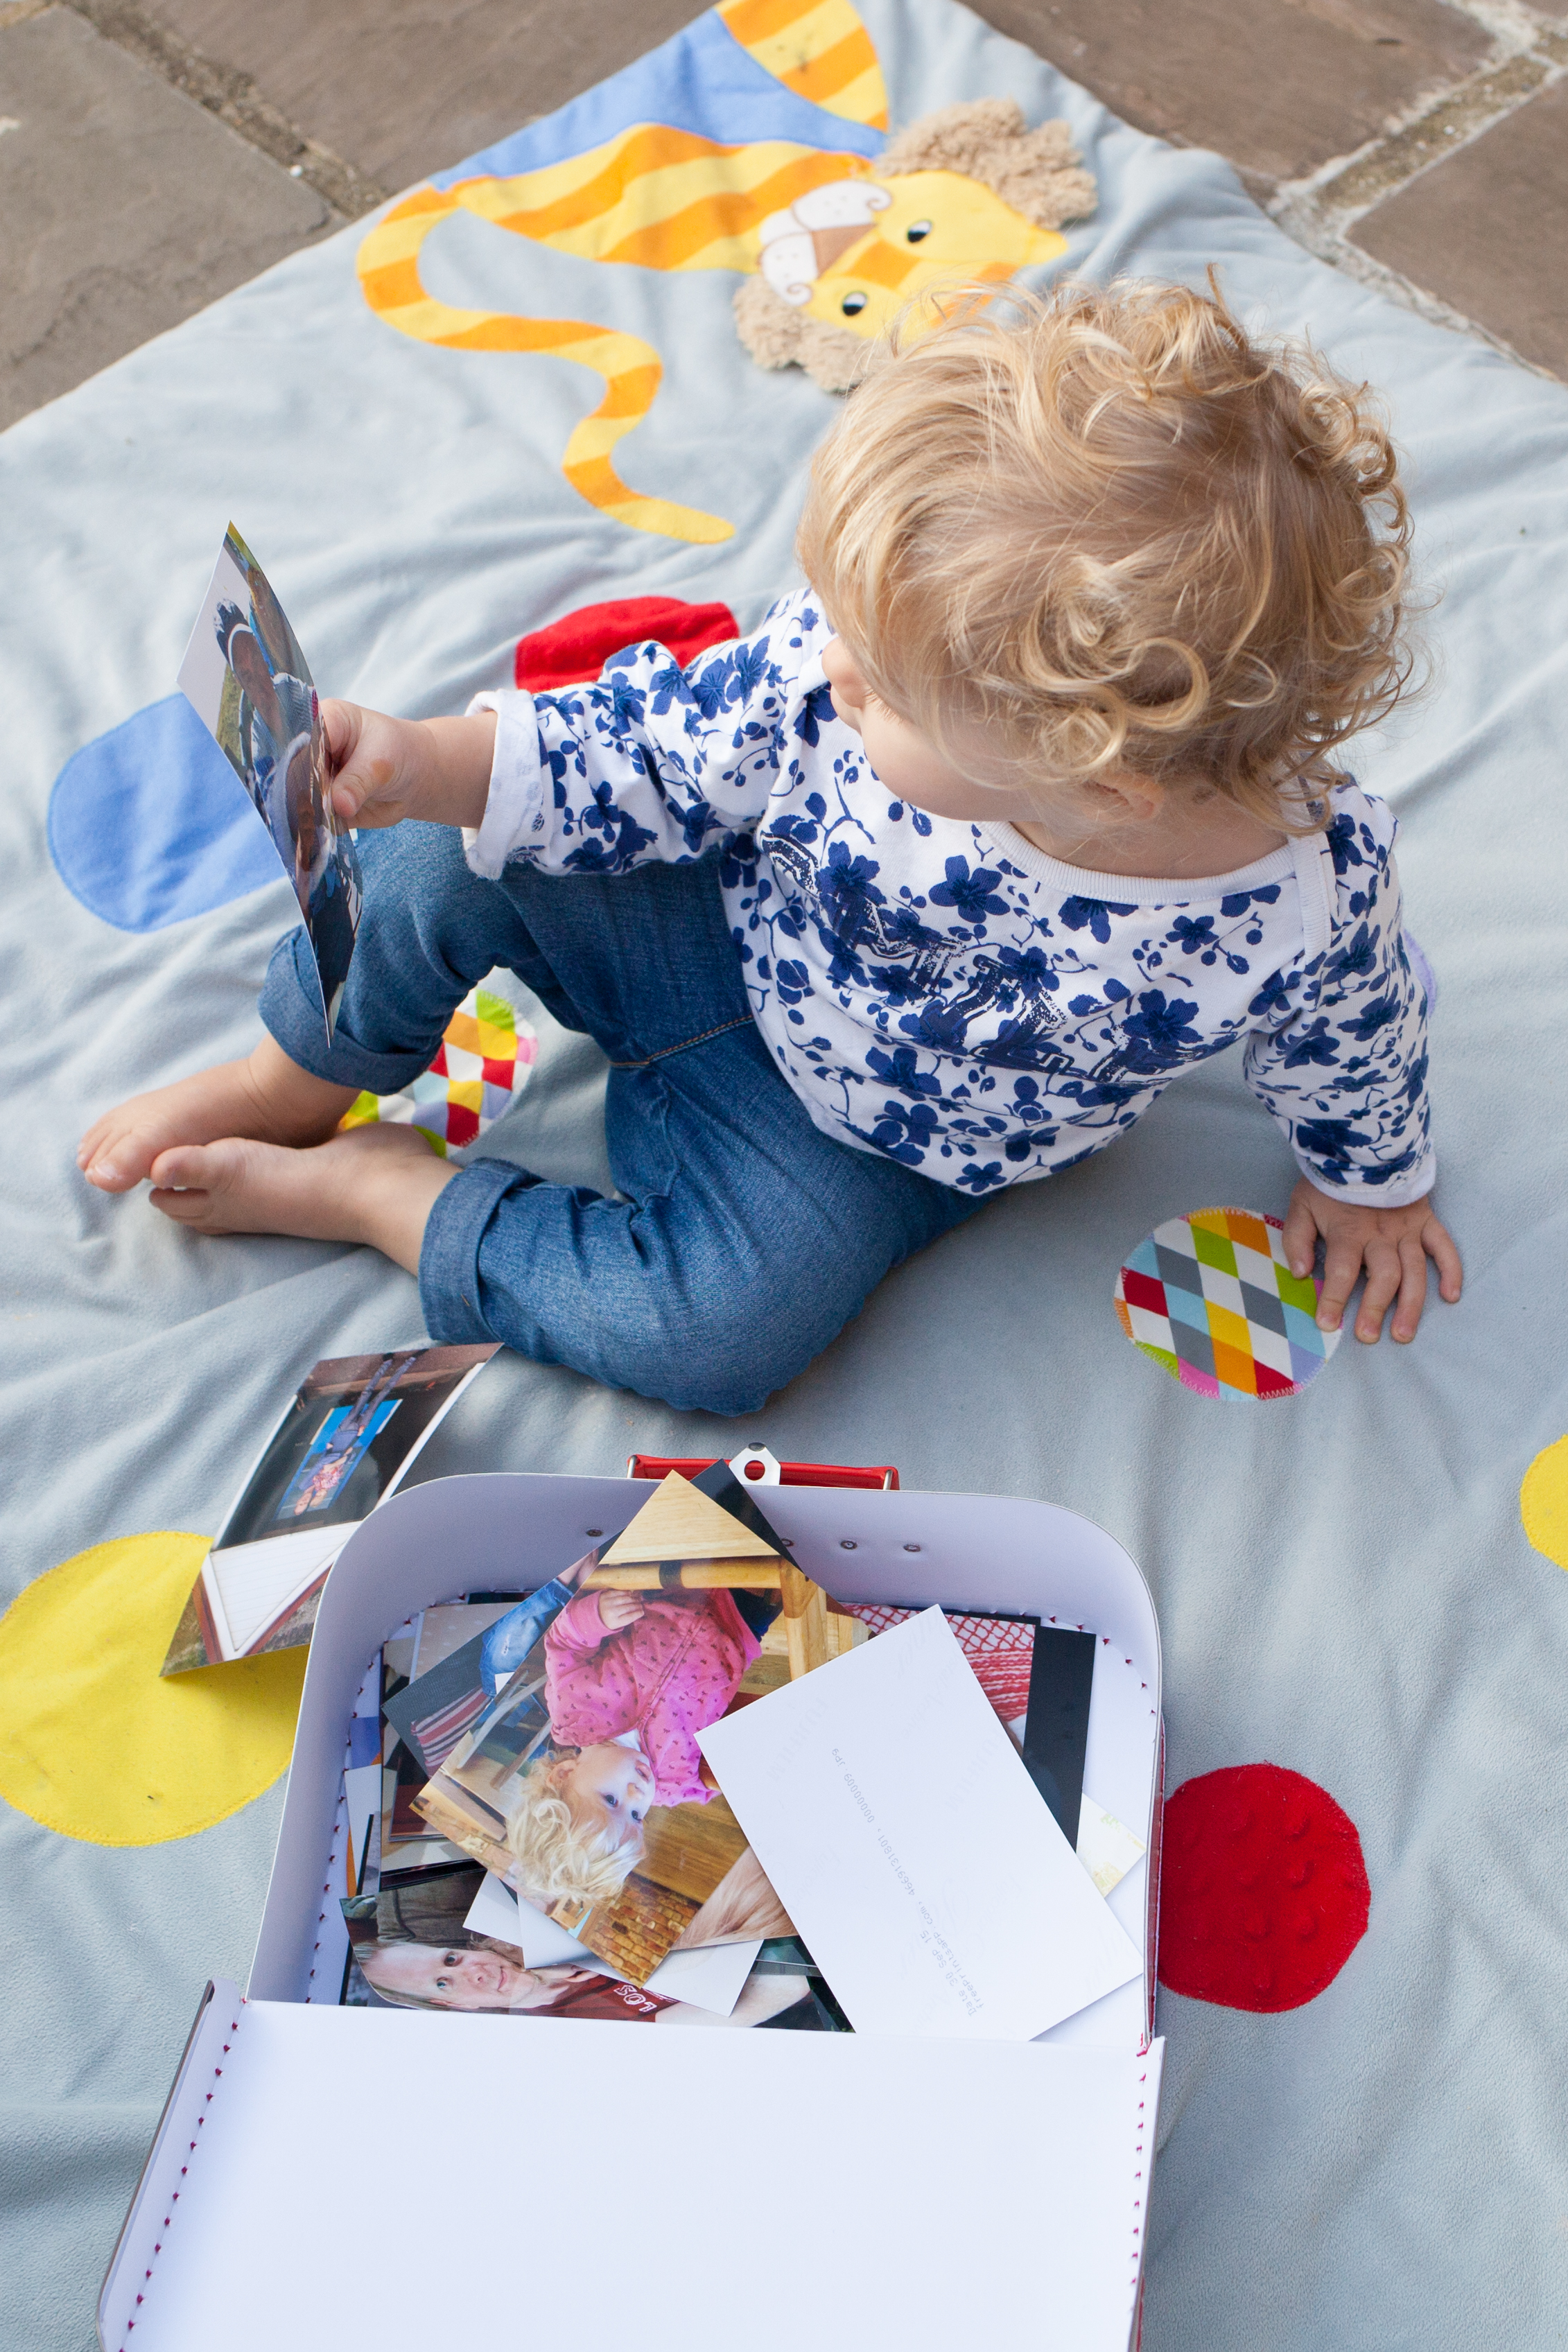
Our daughter was recently asked to bring family photos into nursery. As I scrabbled together what I could find, I realised I'd become guilty of hoarding images online and rarely printing them.
So one afternoon, I collected together lots of family pictures and did a mass print of 50 plus images using a simple app on my phone.
I then spotted a cute mini suitcase online at Zara Home and dispatched my husband to Regent Street to pick up the goods.
Our daughter loves photos. She'll wander around at home clutching pictures of family tightly as if she has unearthed some special treasure.
As well as being a little memory and learning game, I hope the photo box will be a worthwhile distraction. The photos now live in her special case (which is covered in superheroes - daddy's choice).
So far it's proved a hit. It's reminded me how important physical copies of photos are. We can add to the box all the time and if it means being Peppa free (even one less episode per day), I am a happy mummy!
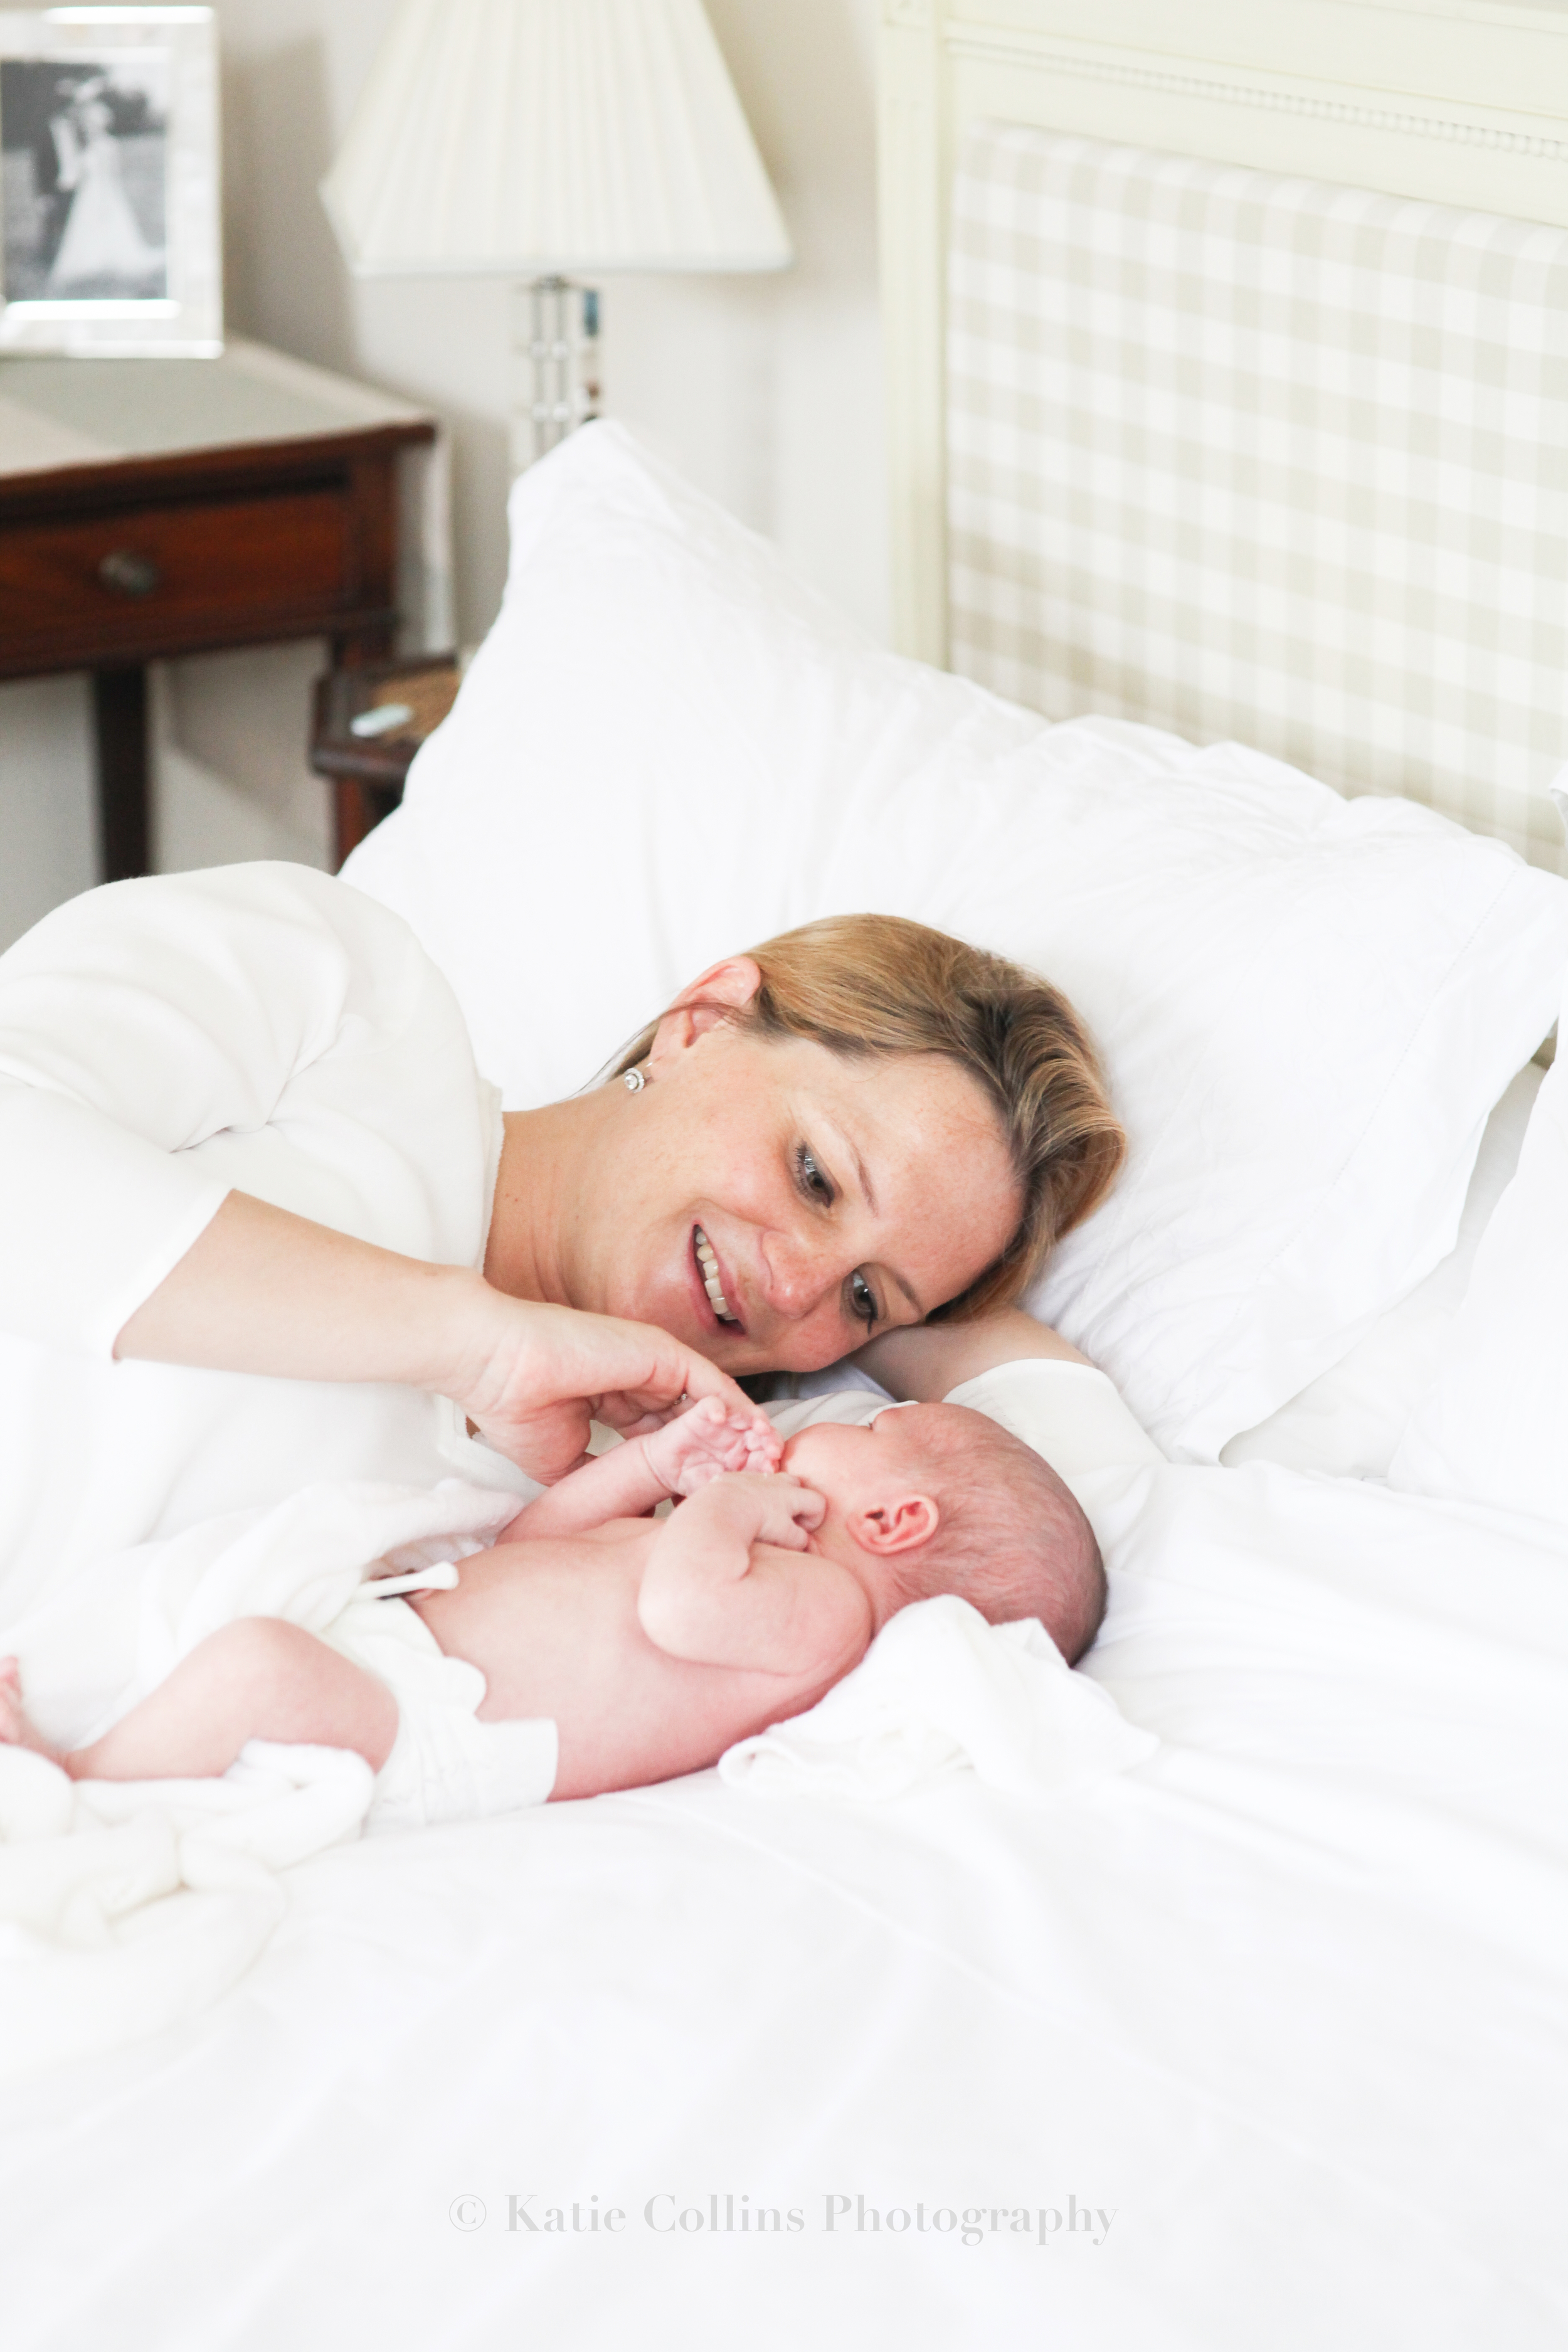
Newborn photo session - Baby Joshua
They say babies can't properly smile until six weeks old, I'm not so sure. At two weeks old, baby Joshua already seemed to be giving his parents the first glimpse of a smile as he perfectly settled into his London home. I spent several hours with the family on a Saturday morning recently, taking relaxed shots of the three together. Joshua, contented with the background sounds of classical music, was happily taking in his new surroundings. As well as photographing the family, there was also an opportunity to take pictures of some lovely and thoughtful gifts to welcome his arrival, including boxes of personalised biscuits from Biscuiteers, such a great idea!
Two weeks after having a baby can be an exhausting (but also exhilarating time) and photographs can be far from some new parents minds, but it's a great time to be photographed as a family and have some special images of your baby's early days which you can treasure forever.
Summer is here
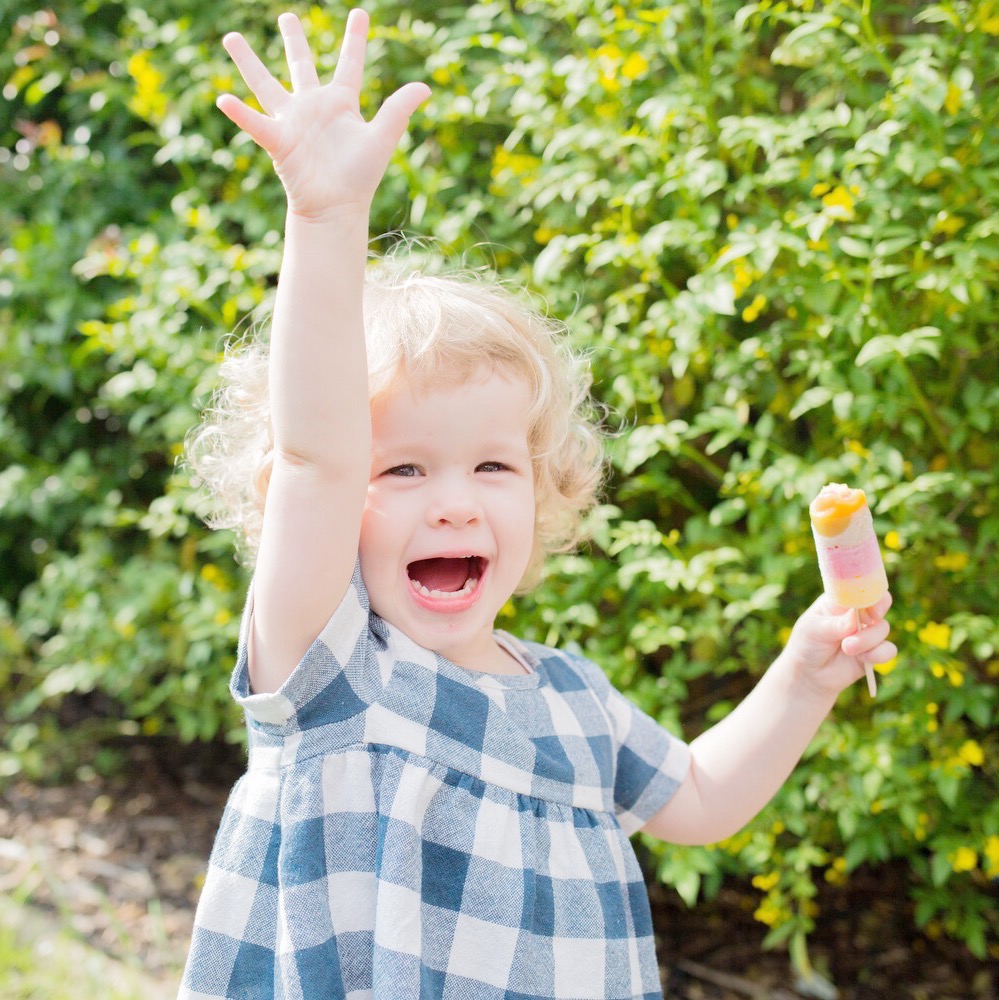
The past week has been spent trying to keep cool in temperatures hitting 35 degrees and little breeze. We are fortunate to have a little garden in which our daughter is happy to spend hours inspecting sticks, flowers and blades of glass or waving at passing aeroplanes. I often try to have my camera to hand and using my fixed 50mm lens (great for portraits), I have been documenting her first summer as a toddler. I'm looking forward to letting her explore the beach next month and her second trip to France is planned. Towards the end of the summer, I intend to spend time printing many of the pictures that are currently stored on my computer and putting together an old fashioned album/scrapbook so we have a printed record of her early years.
Arthur & Albert
A warm sunny day and two young brothers happily giggling together made for a perfect afternoon photo session. Baby Albert, clearly in awe of his big brother Arthur was highly amused by a game of 'Peek a Boo' and it was adorable to watch the boys cuddling together, already perfectly used to each other's company.
Instagram 8
A few weeks ago, just as the temperature started to heat up, I fully introduced our daughter to the garden. Despite showing her the hot pink fragrant roses, she mostly took a shine to tree bark and stones, trying to nibble on them at any given opportunity! The warm weather and the great light was a perfect opportunity for pictures in two pretty summer tops from Zara baby.
I made a few discoveries this month. Dior and I is without a doubt the best film I have seen this year. It's a behind the scenes look at designer Raf Simons, new at the helm of Dior, as he has eight weeks to create a haute couture collection for the luxury brand. He wants to refresh the French fashion house, steeped in history. Influenced and inspired by art and the work of Sterling Ruby, we see his two month journey from arriving at the doors of Dior to the first models stepping on the catwalk. It's a great mix of fashion, art and photography and a rare behind the scenes look at what goes into making a catwalk show.
My husband, family and friends know that I am a lover of bags and particularly British brands, Smythson being a particular favourite. This month (via instagram) I discovered C Nicol studio and her beautiful Butterscotch Fia leather bag. The bag is designed in the UK and handmade in Hackney using the softest leather. My new world map clutch is perfect for carrying my iPad, notebook and phone. It's one of the new designs from Elsie & Nell, a UK based Etsy shop. They have some very quirky and fun purses and bags and are well worth a browse.
Enjoying some lunch with the city of Stavanger in the background
10 reasons why cruising with a baby isn't such a crazy idea
Taking a baby or toddler on a cruise ship? Sounds like a recipe for disaster? Or actually not. We took the plunge and took our 14 month old on a cruise (our third, her first) and we had the most fantastic time, here's why:
1. Travel Made Easy - dropped off at the Southampton terminal and on board within 30 minutes. We arrived with our pushchair loaded with nappies, wet wipes and baby milk. No bag limit and no restrictions on liquids. Suddenly travel got so much simpler.
2. Kid's Club - we were on board P&O's latest addition to its fleet Britannia. The kid's club The Reef offers a night nursery open until 2am, daycare for over 2's and an impressive soft play area kept spotlessly clean.
3. Kid's Tea- from 5-6pm the buffet restaurant was closed off for children to enjoy a selection of finger foods (including the most amazing tiger prawns) and baby food was available on request, for free.
4. Maximum Fuss - from waiting staff to guests, everyone made a fuss of our daughter. I was half expecting the occasional look of irritation if she squawked at dinner but we only encountered friendliness.
5. Added Extras- within ten minutes of calling and asking housekeeping if a baby bath could be provided, a brand new one arrived at our cabin door. A brand new travel cot was ready and waiting when we arrived too.
6. Room Service Included - had a bad day and your baby or toddler is fussing? Can't face dinner in a restaurant on board? No problem, from sandwiches to salads and larger main course dishes, room service is included in the price.
7. Movies On Board- not only is there a wide selection of free movies on the flat screen TV in the cabin, but each evening at 8pm, toddlers gather on beanbags with blankets to watch an animated movie. Under 2's need to be accompanied by an adult and over 2's can be left and looked after by the staff while their parents enjoy dinner.
8. Scenery - our itinerary took us to the Norwegian Fjords, four different ports all easy to explore with our daughter in a baby carrier and breathtaking views out to sea whilst on board.
The beautiful landscape of Olden
Cherry blossom by the lake in Bergen, our first port of call
9. Pool/Spa/Gym - OK so this is more for the adults. I left my husband to babysit one afternoon while I enjoyed a deep tissue massage and a swim in the heated outdoor pool (with spectacular views of the surrounding mountains). There was a fully equipped gym on board and free exercise classes.
10. Price - Many cruises sadly charge full adult prices for a baby or toddler. But when we booked P&O's new ship Britannia, it cost us under £100 to take our baby. That is pretty reasonable when that includes all her food and travel for the week.
Use natural light in your home rather than a camera flash
Top 10 tips for photographing your baby's first year
So much happens in your baby's first year and it's a hectic and incredible time. I'll be honest, a huge amount of the photos I have taken of our little girl have been on my phone as it's quick and convenient. However camera phones have limitations and it can be worth dusting off your compact camera and playing around with the settings to get more from your images.
Here are ten tips for how I think you can get more out of photographing your baby's first year:
1. Birth
So it probably won't be at the top of your hospital bag list BUT whether it's your camera phone, a compact camera or DSLR, make sure you pack a camera in your hospital bag. Chances are you will be pretty busy with a new baby on your hands breastfeeding, sleeping and not knowing what day it is but there will probably be the odd moment where you will be wishing you had a camera to hand. I was in hospital four nights and there were times (bleary eyed) where I just couldn't resist taking a couple of pictures of our new baby snoozing away in the bassinet beside me.
2. Location, Location, Location
A photo shoot on a bed with natural light streaming through a window on the left
Think about the room which has the best light in your home. Think about what time of day it has the best light - a bedroom might be a good option. Clear some space, avoid a messy background and if needs be cover a sofa or bed with a cream or white (or plain) sheet. This creates a nice, clean, light backdrop for which to photograph your baby and your mini shoot can commence.
3. Ditch the flash
Flash can be really ugly. If you have a room with good natural light, you can avoid using flash and your pictures will look so much better. If you have a compact camera play around with the light sensitivity (ISO) and push it up to a higher level. If you have an iPhone, an app such as Camera+ will allow you to have control over your settings and change the ISO. This is something definitely worth experimenting with.
4. Detail shots
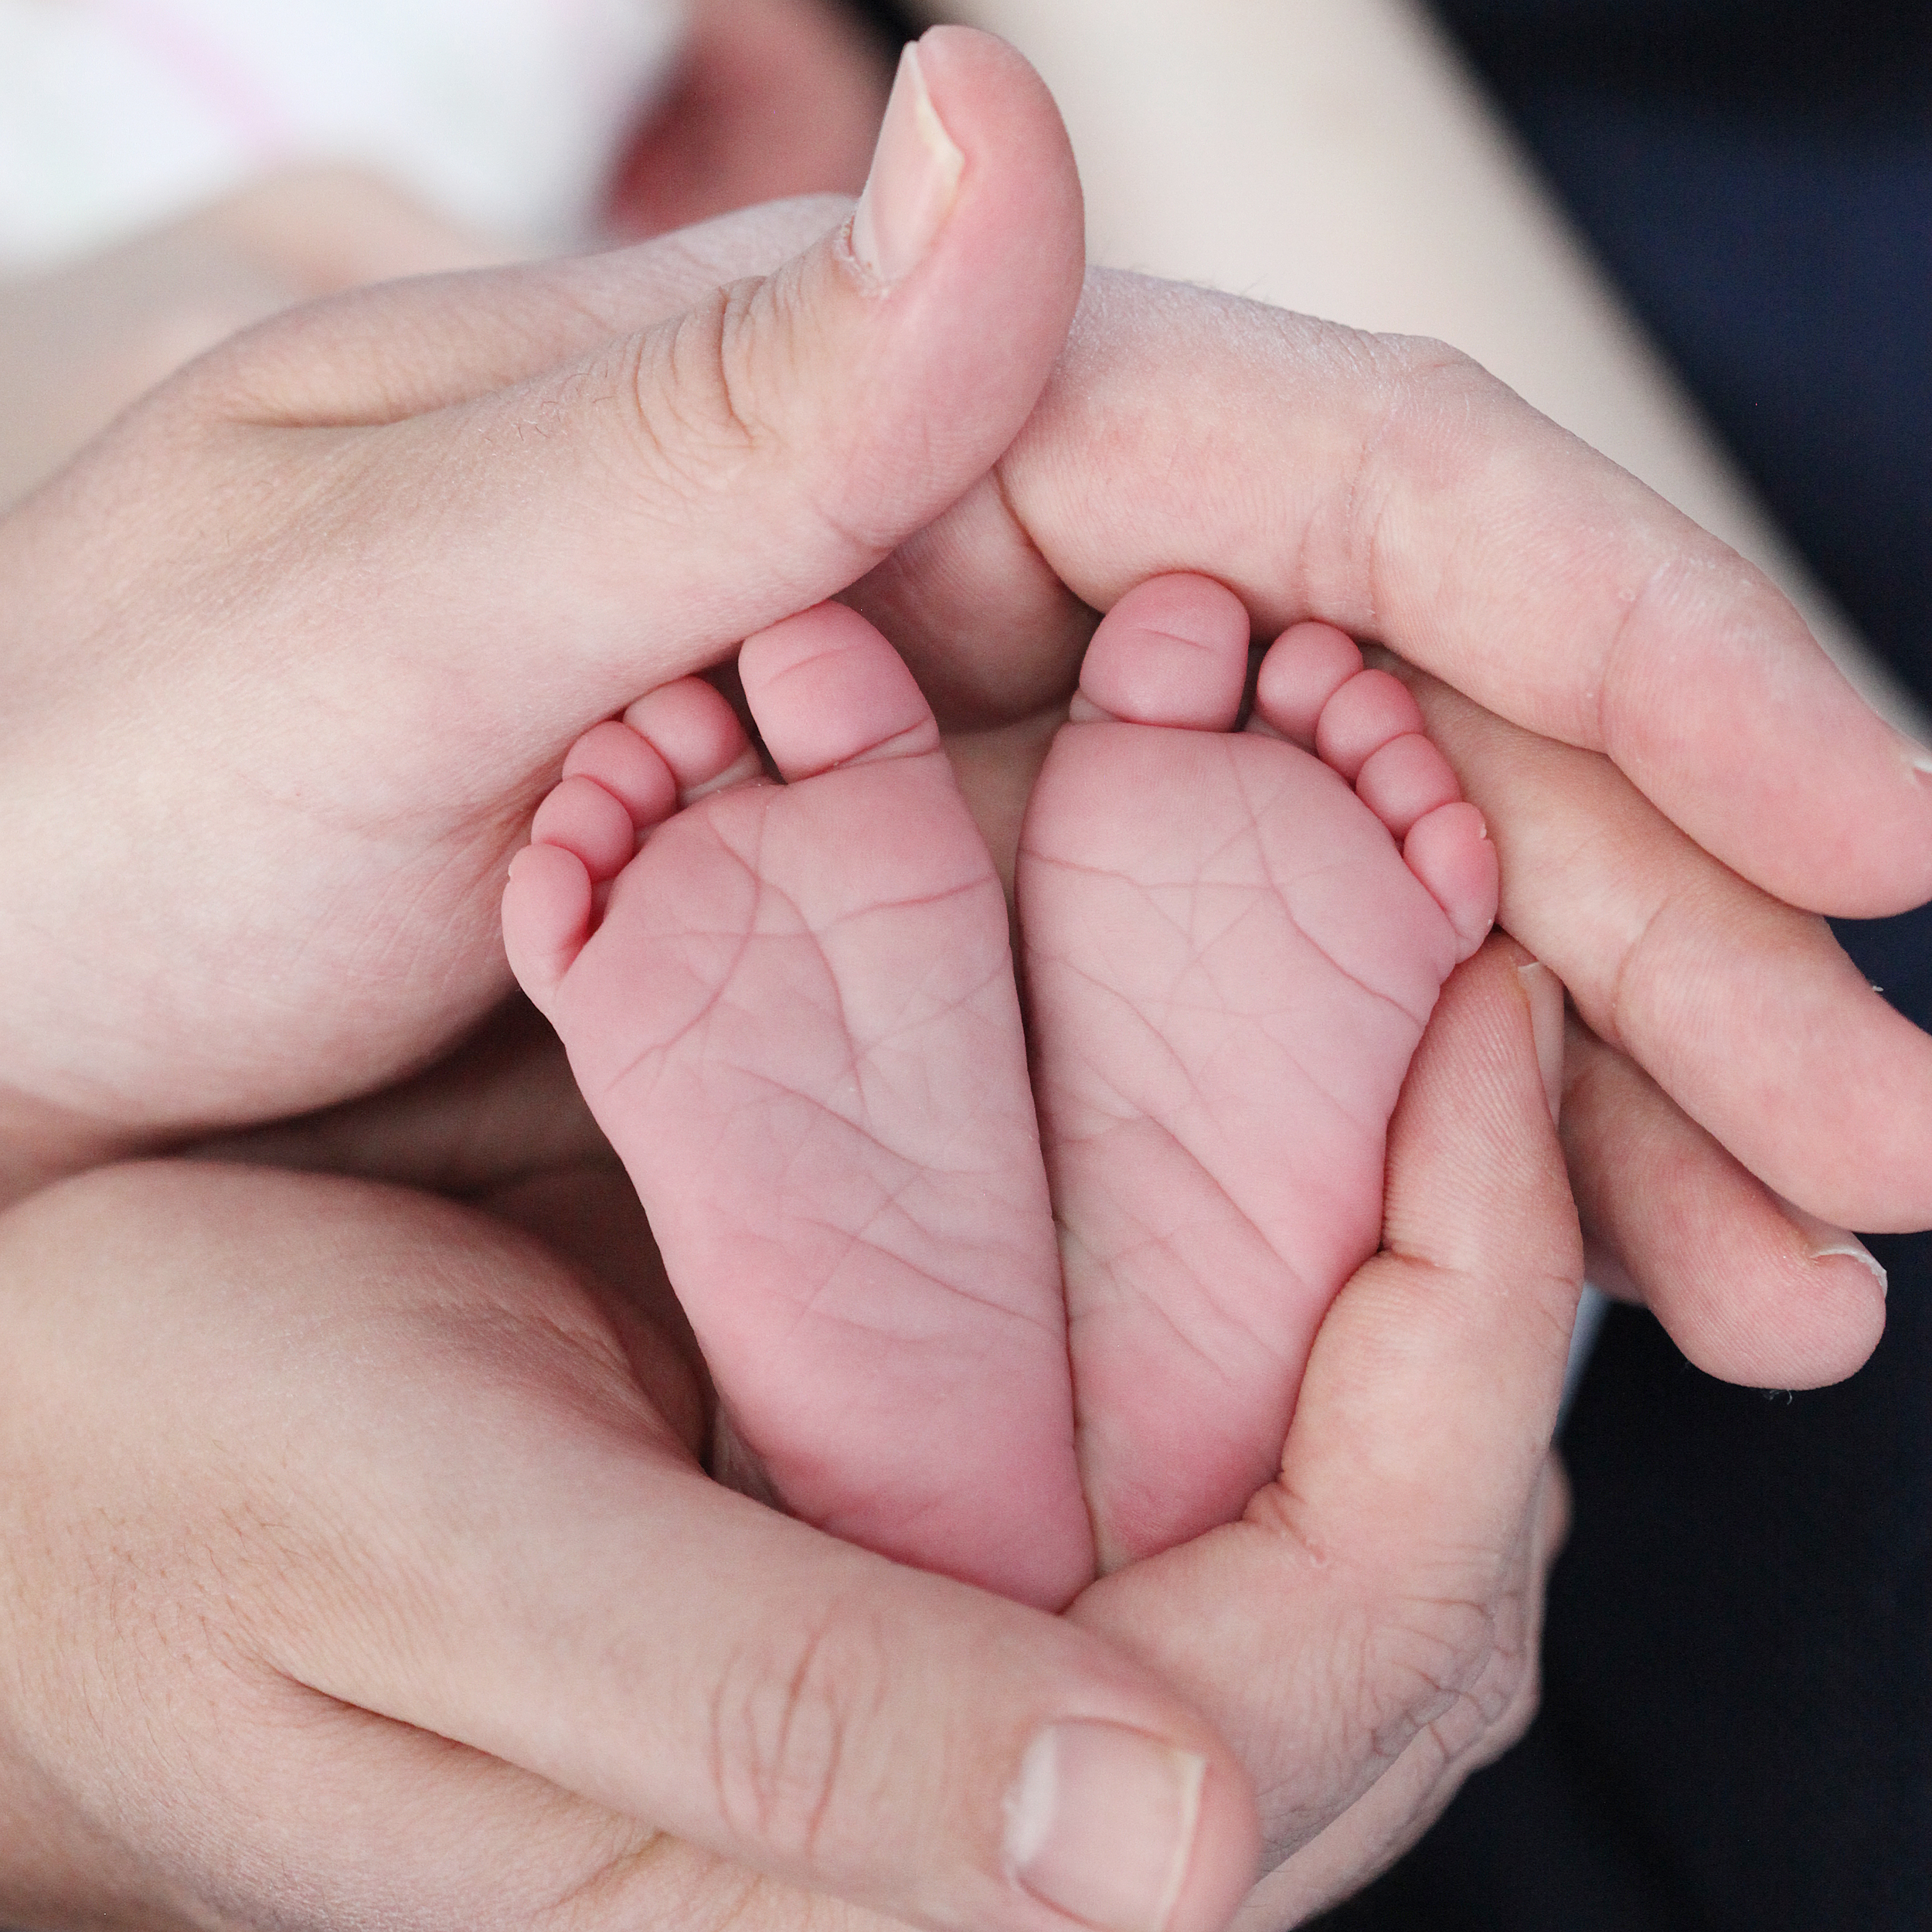
Close-ups of tiny hands and feet, eyes, nose, ears, and baby's first smile make great images. These are all pictures to treasure and worth having in the family album. Many cameraphones and compact cameras have a macro setting (usually a flower symbol) and this will allow for close-up shots. Be prepared to put in some time as you will need your baby to be very still but these are great shots to have.
5. Relationships
Family relationship shots are great to have in the family album
It's incredible watching a special relationship develop between your new baby and their father, mother, grandparents and siblings. It's even better when you can catch those special moments through images. It could be dad simply holding the baby or rocking him or her to sleep, bathing them or reading the baby a story. I'm always trying to capture those relationship shots.
6. Using the seasons
As your baby starts to move around and explore their surroundings, it can be a perfect opportunity to use the seasons in your photographs. A drab, grey miserable day can be brought to life with a pop of colour - it could be your baby wearing a bright coat or mum or dad carrying a colourful umbrella. Autumn provides a wealth of warm, golden colour and can be a great backdrop for photographs, as can Spring with blooming pink and white confetti-like cherry blossom.
7. Baby's firsts
Hard to resist those pictures of baby's first taste of food!
From their first taste of food to their first birthday - have your camera at the ready as there's bound to be some great moments. For our little girl's first birthday recently we bought balloons and bunting. Not only was she excited by them, they provided a dash of extra colour to the photographs.
8. Editing
Adobe Photoshop is the editing software of choice for many photographers who choose to pay monthly or annually to use it. If you fancy dabbling to see what it's all about you can download a free month's trial through Adobe. There's also a fantastic free app for iPhone called Photoshop Express which allows you to do quickfire editing on the move. A great tool to have particularly if you use social media and fancy sprucing up your images before posting.
9. Printing
It's all too easy to take lots of pictures these days, upload them to a laptop or computer and forget about them. The best advice someone gave me recently was to print my pictures and keep them in a box - old school maybe but really worth doing. Photo books are great value these days and the printing quality continues to improve. The Printspace, a London company are my go-to printers of choice for images. Beautiful, quality images, available in a range of finishes and quick delivery.
10. Investing
Get professional images taken. I realised early on after our daughter was born that I wasn't going to be appearing in many of our pictures of her early years as I was the one behind the camera. We chose to have a photo shoot at home. We were exhausted, new parents but I am so glad we had those images taken as they are very special to us.
Warren House Hotel in Kingston
Spring-time getaway
I was ambling along with the pushchair to the supermarket last week and three loud, noisy sirens whizzed by in the space of a matter of minutes. Angry drivers were blasting their horns at the busy junction near our house and the person in front of me was smoking, wafting smoke into mine and my baby's face. The signs were all there, it was time to escape London for a few days. We wanted a family night away, not too far away but with space to have a good walk, maybe a swim, a nice meal and most importantly fresh air. Warren House is close to Kingston but tucked away down a quiet lane and we booked in for a special dinner, bed and breakfast rate.
It may have been all of 20 minutes from our home but we managed a lovely stroll through the well-kept gardens on the most beautiful sunny day so far this year. We enjoyed a family splash in the pool, a two-course delicious à la carte dinner with chilled wine and treated ourselves to breakfast in our room (which had a balcony and a great view).
Our baby may have woken us at 3am (typical!) but getting away (even for a night) was just the break we needed and, best of all, there was no long car journey home. We can't wait to return.
Perfect Pampering Treats
Pamper treats by Neom, Liz Earle, Alice Temperley, Clinique & This Works
With a baby under the age of one, pampering evenings have become a lovely treat. They almost always involve a long bath and reading one of the many magazines piled by my bed that I've been meaning to read for weeks.
There's a handful of products that go hand in hand with a relaxing evening for me - products that I wouldn't be without since first discovering them. These treats are usually top of my birthday and Christmas list.
These smell incredible and leave your skin lovely and soft. After first being given a set of the bath oils as an engagement gift in 2010, I haven't looked back. This British company would be my top choice for beauty and pampering treats.
A gentle lavender scent which I spray on my pillow just before I go to sleep. This has travelled with us on holiday, it even made it into my hospital bag for when our baby was born.
The perfect take-the-day-off cleanser. Used alongside the soft muslin cloth, It feels like I am giving my skin a really good clean. Another great UK brand.
I've been using Clinique since I was a teenager and the Moisture Surge cream over the last year or so. I put it on just before bed and leave it to soak in overnight.
Saved for later in the day when the baby is asleep! The British designer may be best known for her clothing but her candles smell incredible and last for ages.


