• Portfolio
  • Live Performance
  • Download Festival 2025
  • Fashion
  • Published work
  • Collage
  • About me
  • Contact
Menu

Katie Collins

  • Portfolio
  • Live Performance
  • Download Festival 2025
  • Fashion
  • Published work
  • Collage
  • About me
  • Contact
×
Adjustments.jpeg

Keep calm and collage on

Katie Collins March 23, 2020

There’s no doubt these last few weeks have been confusing and worrying.

I veer from feeling relatively calm about Coronavirus to scrolling through too much news or social media and going into an anxious spin (usually right before bed).

It’s now more than ever that hobbies and creativity can really help calm our minds.

When I started collage it was for fun and it still very much is.

But in the past few weeks I have realised just how important it is to me and my mental health. It provides an outlet and focus away from what’s happening in the news.

For a long time I was inquisitive about collage but never quite knew how to get started. Do I use scissors or a craft knife? What’s the best glue? How do I get materials?

After sitting on the fence for a while and thinking about creating my first collage by hand, I pulled together some materials and gave it a shot.

If you are just starting out and looking to start making collages, here are a few tips:

First things first, you will need:

  • old magazines or books you are happy to cut up

  • Small scissors 

  • Glue (Prit Stick it similar)

  • Card - I use A4

1. Collect your materials - Start cutting out any images of people, objects, animals etc you find interesting or that intrigue you. Rip out pages with interesting backgrounds. 

If you don’t have magazines to hand but you do have a printer, take a look through some of these open access image libraries with images that are out of copyright - here’s a handy list -https://www.apollo-magazine.com/open-access-image-libraries-a-handy-list/

Print off any that you find interesting and add to your collection.

2 - Getting started - Lay out your backgrounds on one side and then your objects/people/animals on another. Start playing around and see what works together. You could pick a theme and challenge yourself to create a collage with that subject in mind. Start to create and place your collage on a piece of card or in a scrapbook and when happy with how it looks, glue it in place.

3. Photographing your work - if you have decided you’d like to upload your handcut collage to Instagram, getting a good photograph is key. I photograph my collages right beside the window using my phone and use a bit of white card to reflect the light. I then use the Snapseed app to crop the picture and make any small tweaks perhaps to the brightness or contrast before saving to my phone.

collage katie collins.jpg

4 - Sharing your work - when I first started , I decided to create 12 collages before setting up my Instagram account and posting them. I discovered other handcut collage artists through hashtags and an incredible supportive positive collage community. By far the best thing I have done is to take part in weekly themed challenges - take a look at @gluetogether @pariscollagecollective and @februllage. From here you will start to see hashtags people are using and you can start to follow both your favourite accounts and hashtags.

5. Further reading - There are a few art and collage books that I have really drawn on for inspiration (below)

Adjustments.jpeg

Collage by Danielle Krysa

The Collage Ideas Book

Collage by Women

Project Collage

Show your Work! and Keep Going! by Austin Kleon

Check out a few of my favourite Instagram collage accounts -

@joewebbart

@smallditch

@gluetogether

@chipperjay_creative

@drocks024

@pariscollagecollective

@edinburghcollagecollective

What’s great about collage is that there’s no right or wrong, you can just have fun. It takes your mind off things. It allows some escapism and we could all do with a little bit of that right now.

Adjustments.jpeg
Adjustments.jpeg

@Katie_collage

In Crafting Tags collage, crafting, creativity
Comment
Paperchase_Scrapbooking.jpg

Learning to Scrapbook

Katie Collins January 8, 2018

I remember when I was about 11 years-old - it was September, a brand new term at school. Sharpened pencils, a new shiny pencil case and maybe even a pristine set of new colouring pencils, too good to be removed from their box.

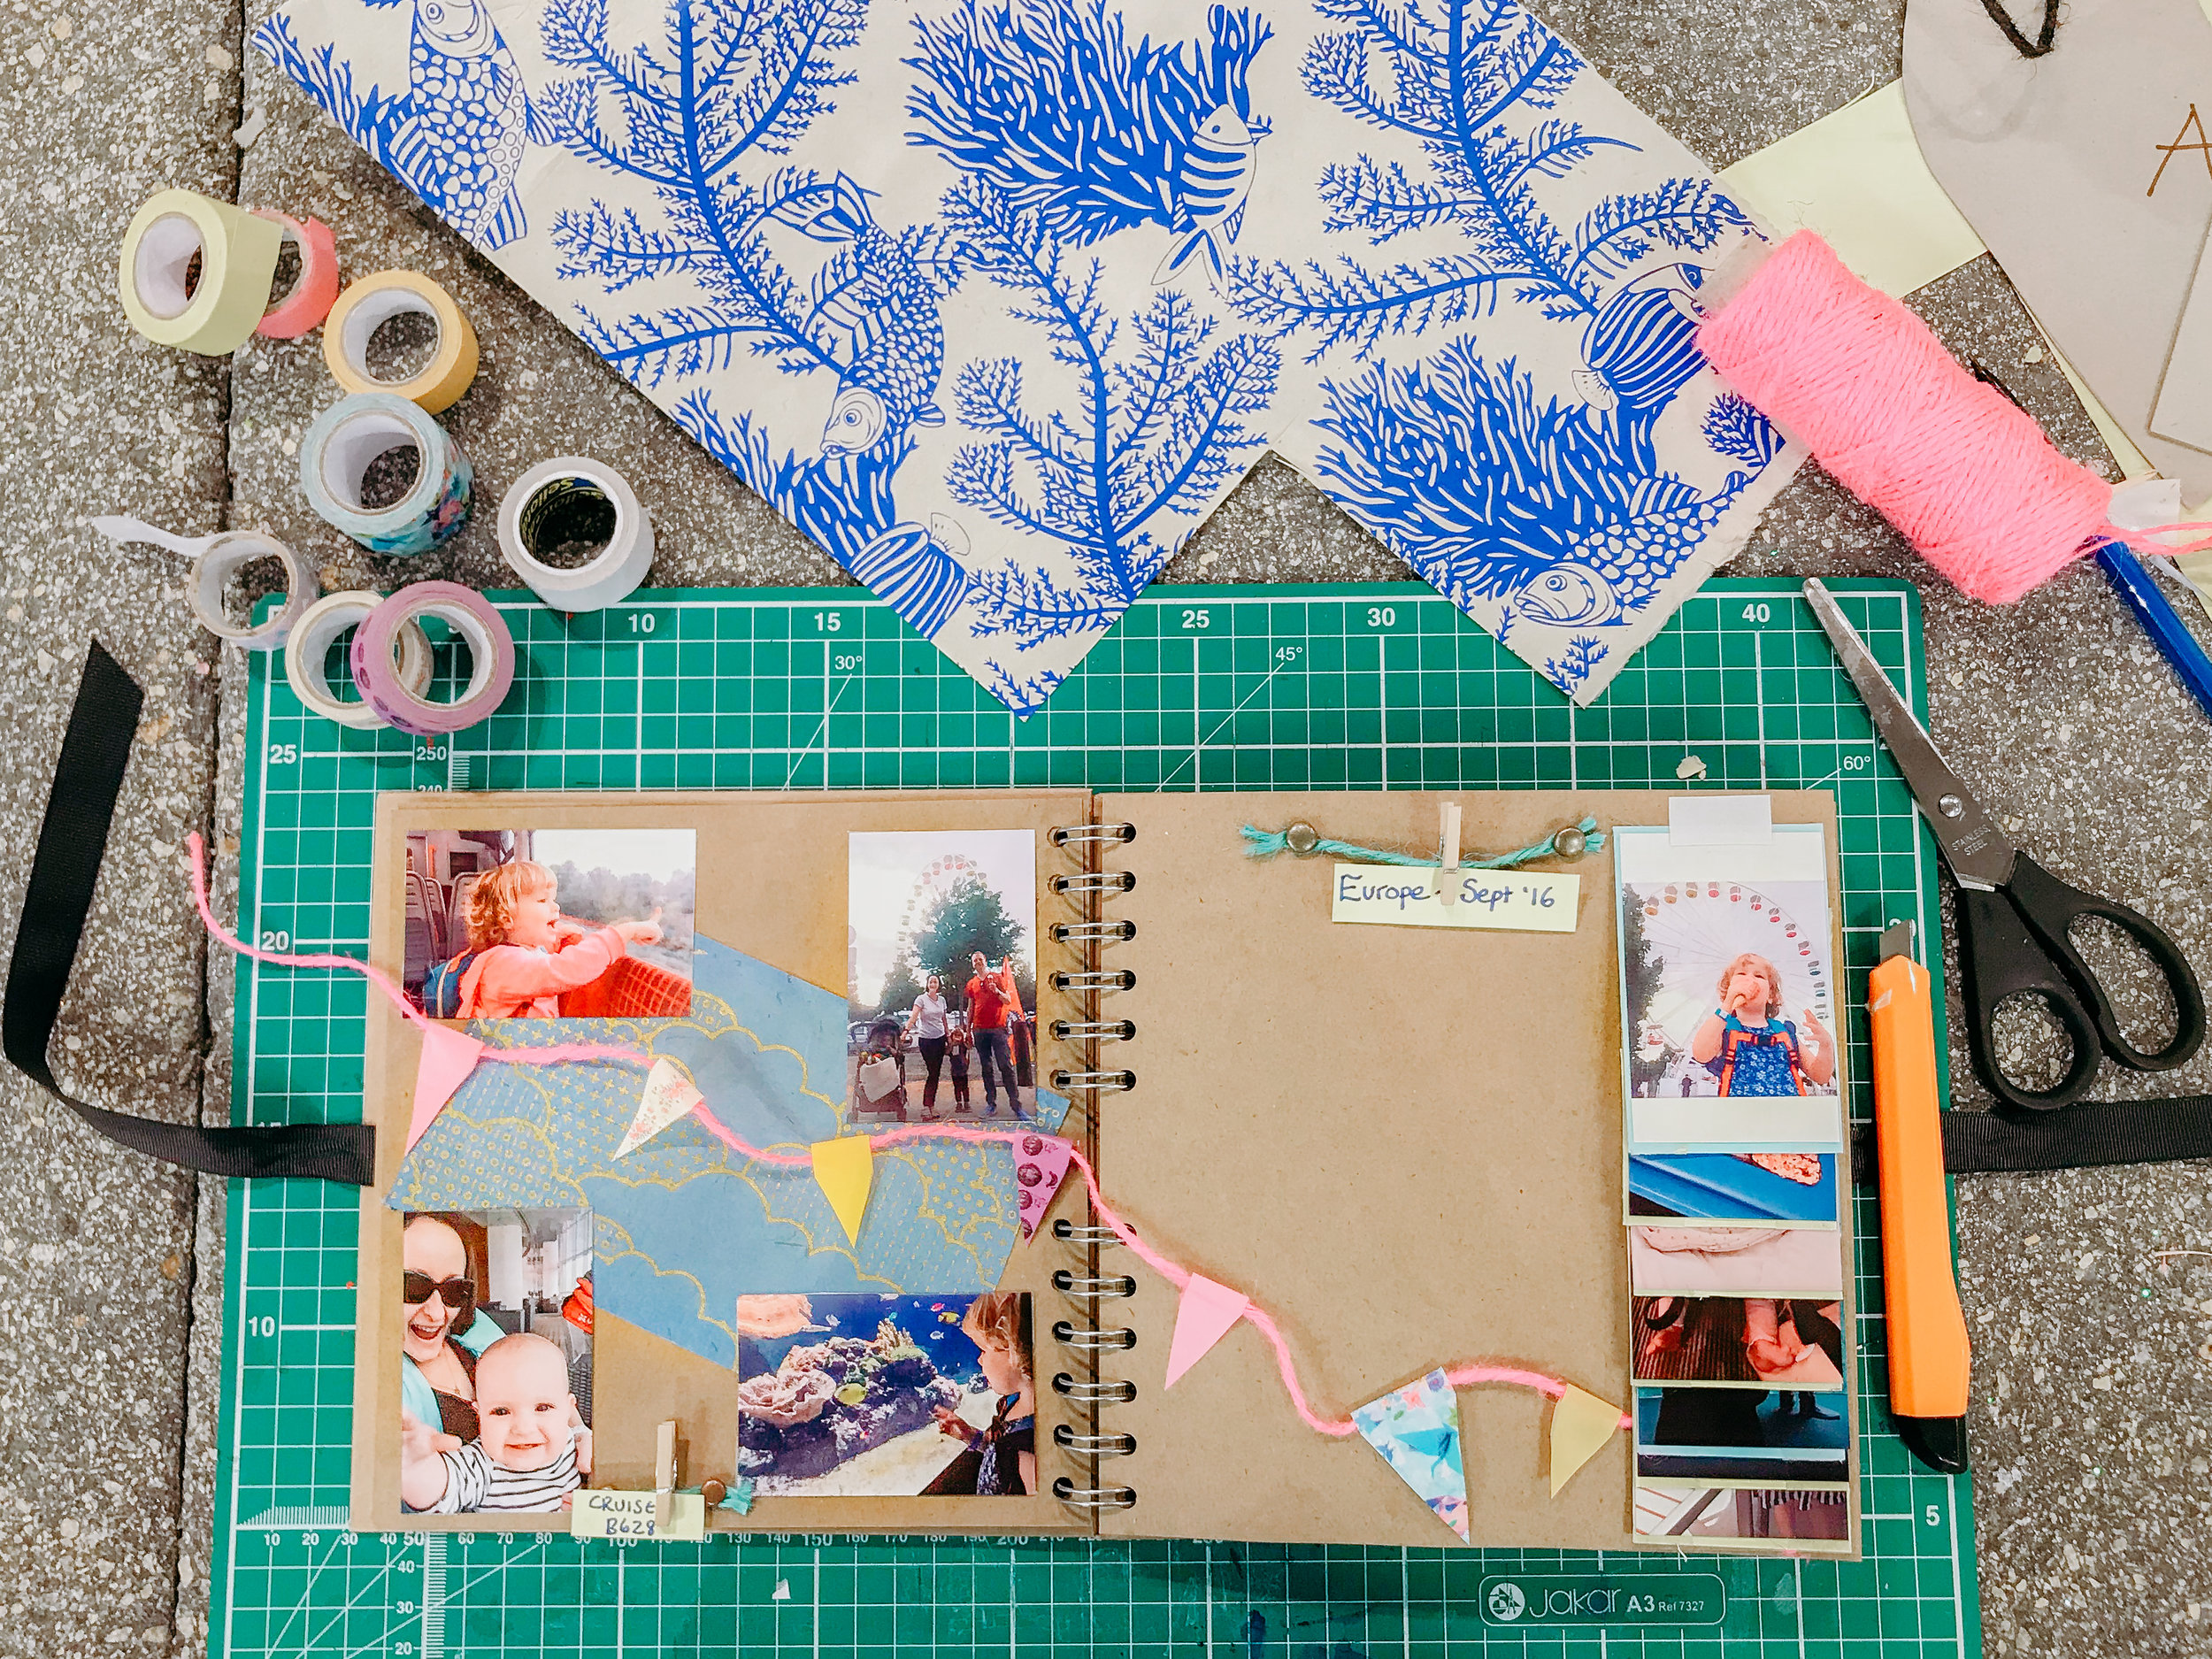
A friend had returned from a Summer holiday adventure and was neatly arranging her keepsakes from her trip in a scrapbook.

Photographs, tickets, notes, all mixed with pretty pastel coloured card and intricate designs printed on delicate paper. 

I was mesmerised and watched wide-eyed as she glued, coloured and weaved together her findings in a book bound together with ribbon.

The truth is for a long time, and particularly at school, art was never my thing. Painting and drawing I loved but I was simply not good enough (or encouraged) to take art as a subject at GCSE.

It's only now, in my thirties, that I'm exploring new crafts and having fun trying new skills. There's no pressure to pass exams, just to learn and have fun.

I came across Project Craft at Paperchase by chance when looking for a new diary on their website.

I discovered the flagship store in London's Tottenham Court Road offers a range of craft classes, just a few hours long and enough to dip your toe in to see if you warm to it.

I chose the Scrapbooking class for a very reasonable £20 (including all supplies). There's also Card Making, Creative Journaling, Origami Flowers, Paper Cactus making and more.

Cameron, a friendly and enthusiastic art student (who also works part-time at Paperchase) was my teacher for the afternoon and  encouraged me to choose a theme for my scrapbook - I chose travel.

I had brought along pictures, tickets and cuttings from a previous (poor) scrapbooking attempt and he helped me weave all the materials together into a double-page spread using coloured card, designer paper, washi tape and coloured string (for the bunting). He also showed me how to create pockets to store tickets and small mementos.

This was a brilliant introduction to Scrapbooking. My main reason for booking the class was so that for future travels I can involve our two girls and we can continue to create the scrapbook together.

In the two hours I also learnt:

  • How to be more confident using a cutting mat and knife

  • That it's much better to use double sided tape than Pritt Stick (curls at the edges)

  • How to be creative with washi tape (I always just used it like sellotape before - hello washi tape bunting!)

So thank you Paperchase (and Cameron) for a great introduction to Scrapbooking - I hope to be back soon. in the meantime here's a Pinterest board I've put together with Scrapbooking ideas.

You can read more about Project Craft classes (available in London, Manchester & Glasgow)  here

In Family Travel, Review, Crafting, Creativity Tags crafting, Scrapbooking, creativity, paperchase
Comment

Search Posts


Powered by Squarespace